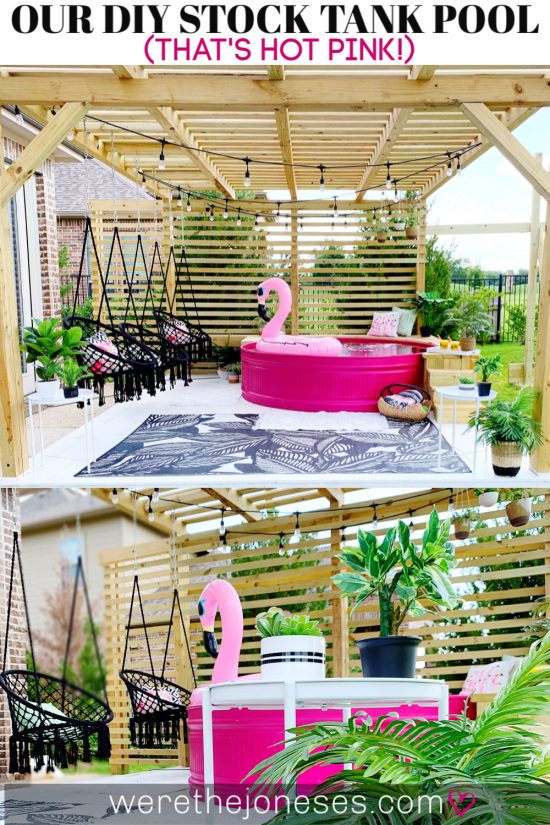
Answering all your stock tank pool questions! Here’s our DIY stock tank pool and deck one year update! I’m going into detail on how we maintained our painted stock tank pool, and the fun updates we’ve made to our DIY deck & backyard since last Summer.
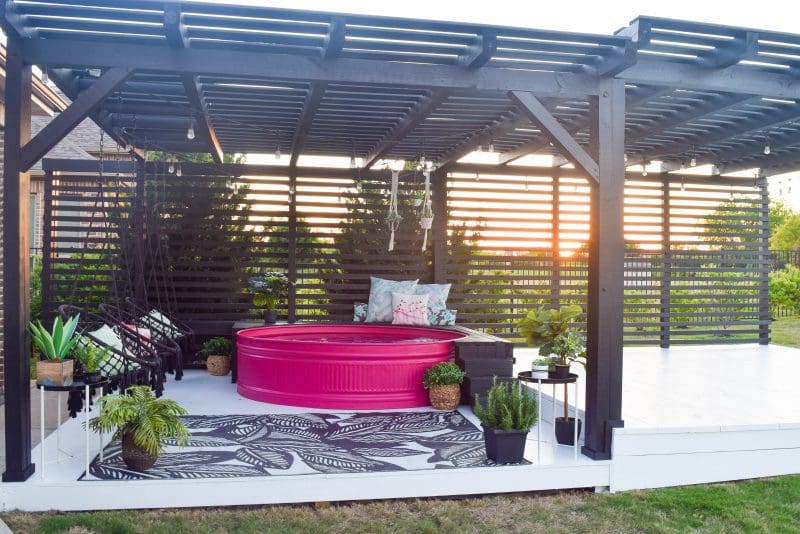
DIY Stock Tank Pool and Deck: One Year Update!
*This post contains some affiliate links for your convenience. Click here to read my full disclosure policy.
We’ve made some major updates to our stock tank pool and deck area!
Can you spot all the changes??
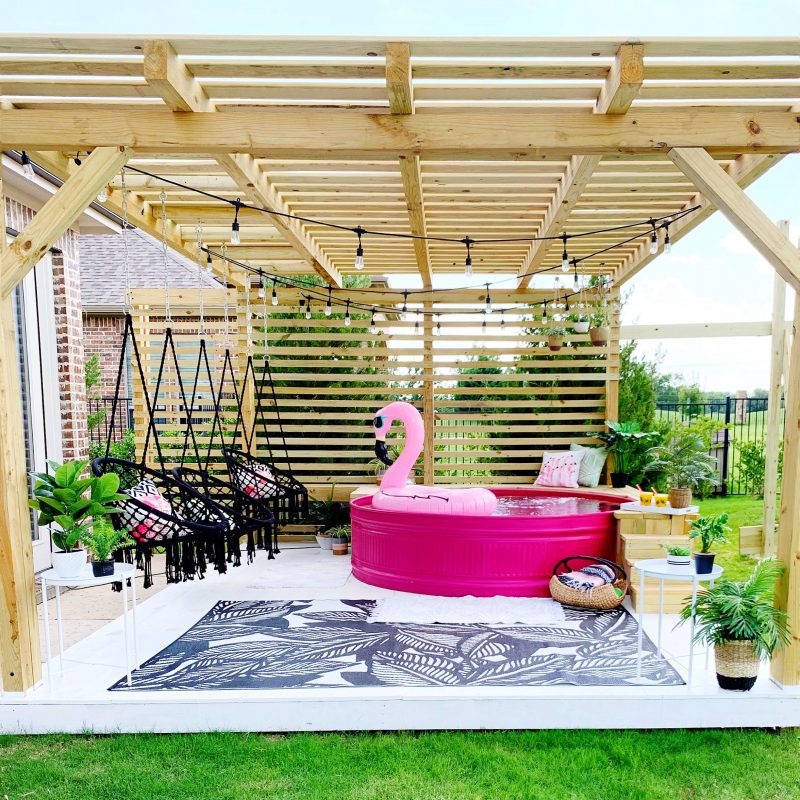
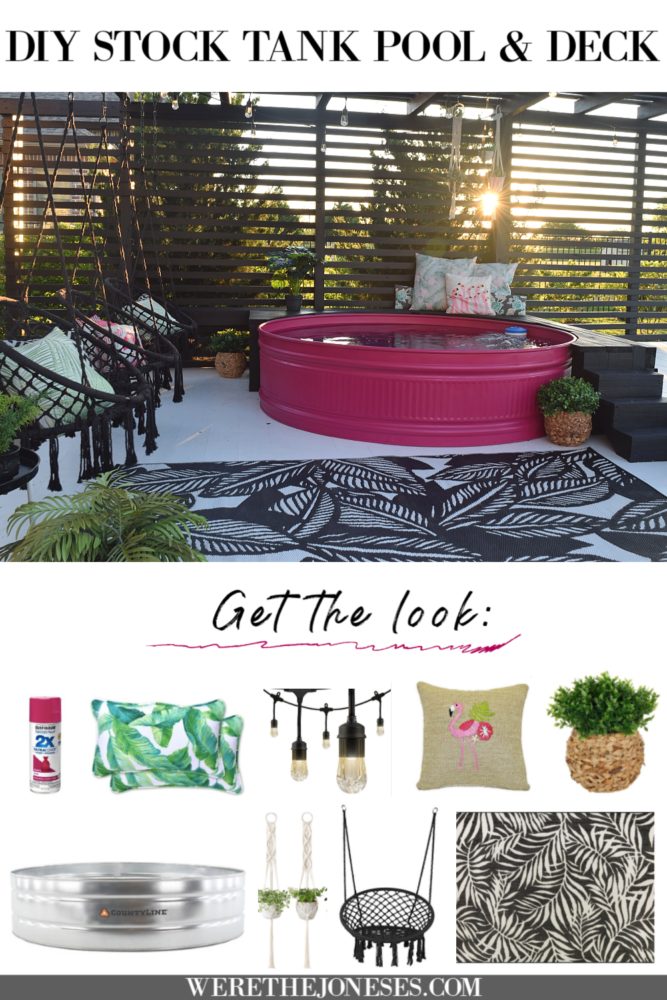
In case you missed it, this post is the first blog post I made about our stock tank pool. Here’s a refresh on what our deck and pool looked like last Summer…
STOCK TANK POOL AND DECK LAST YEAR:
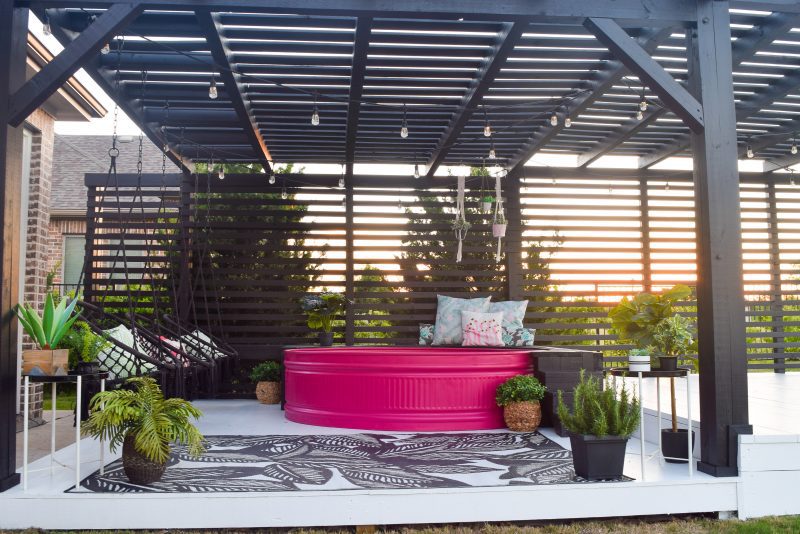
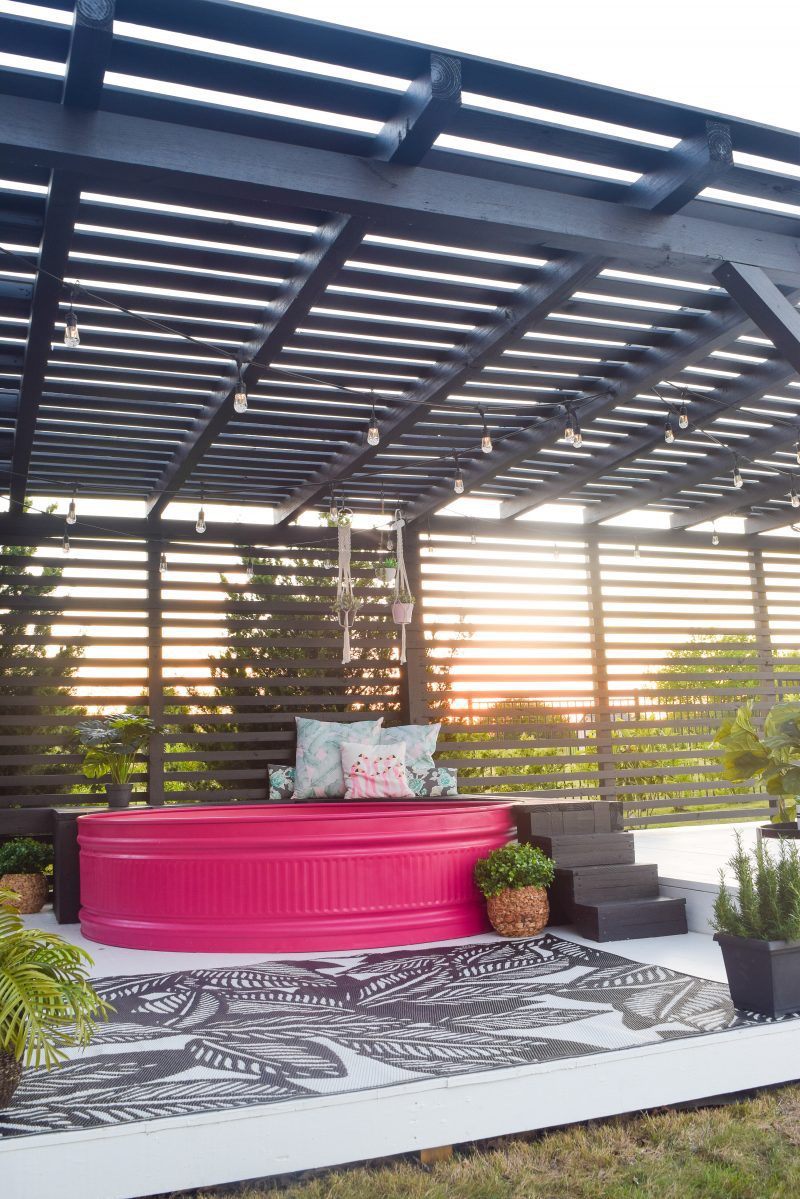
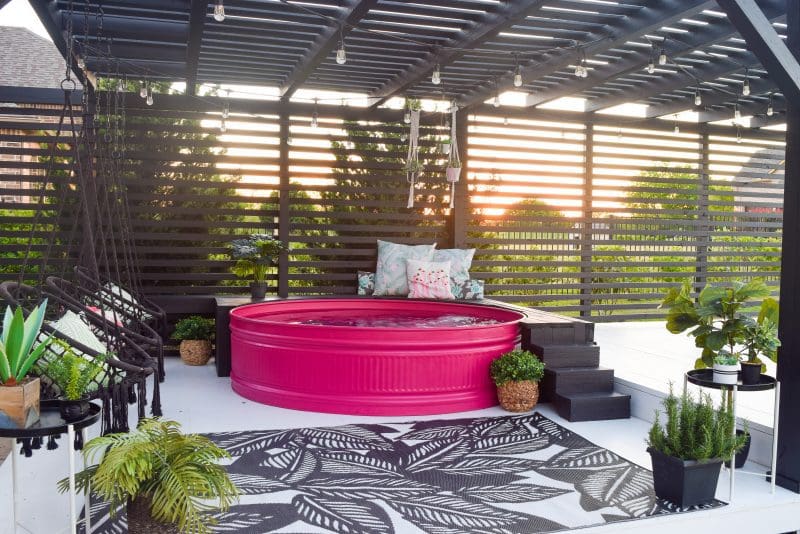
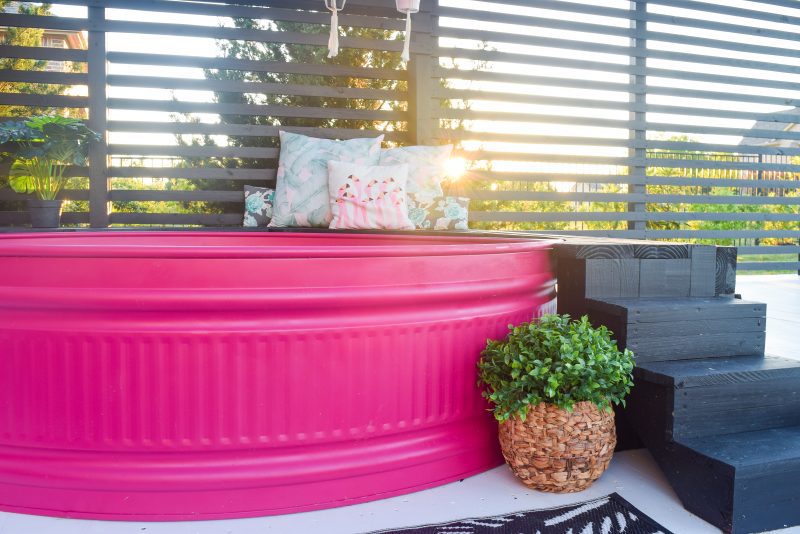
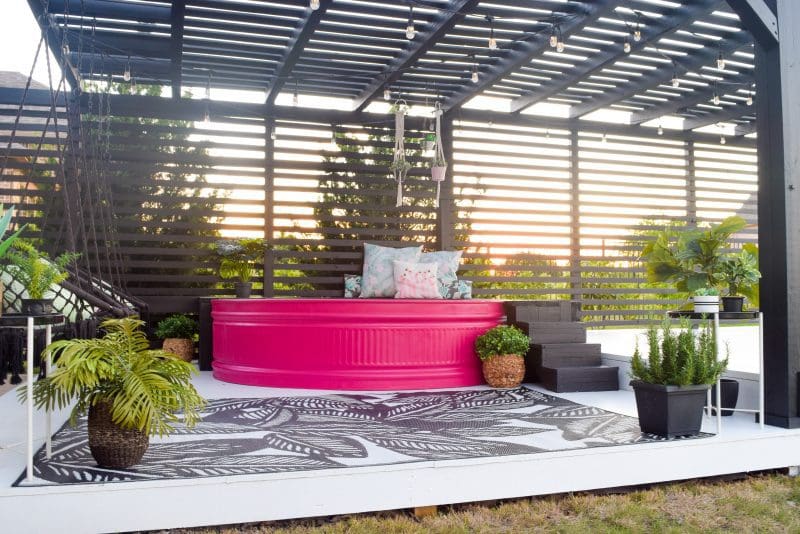
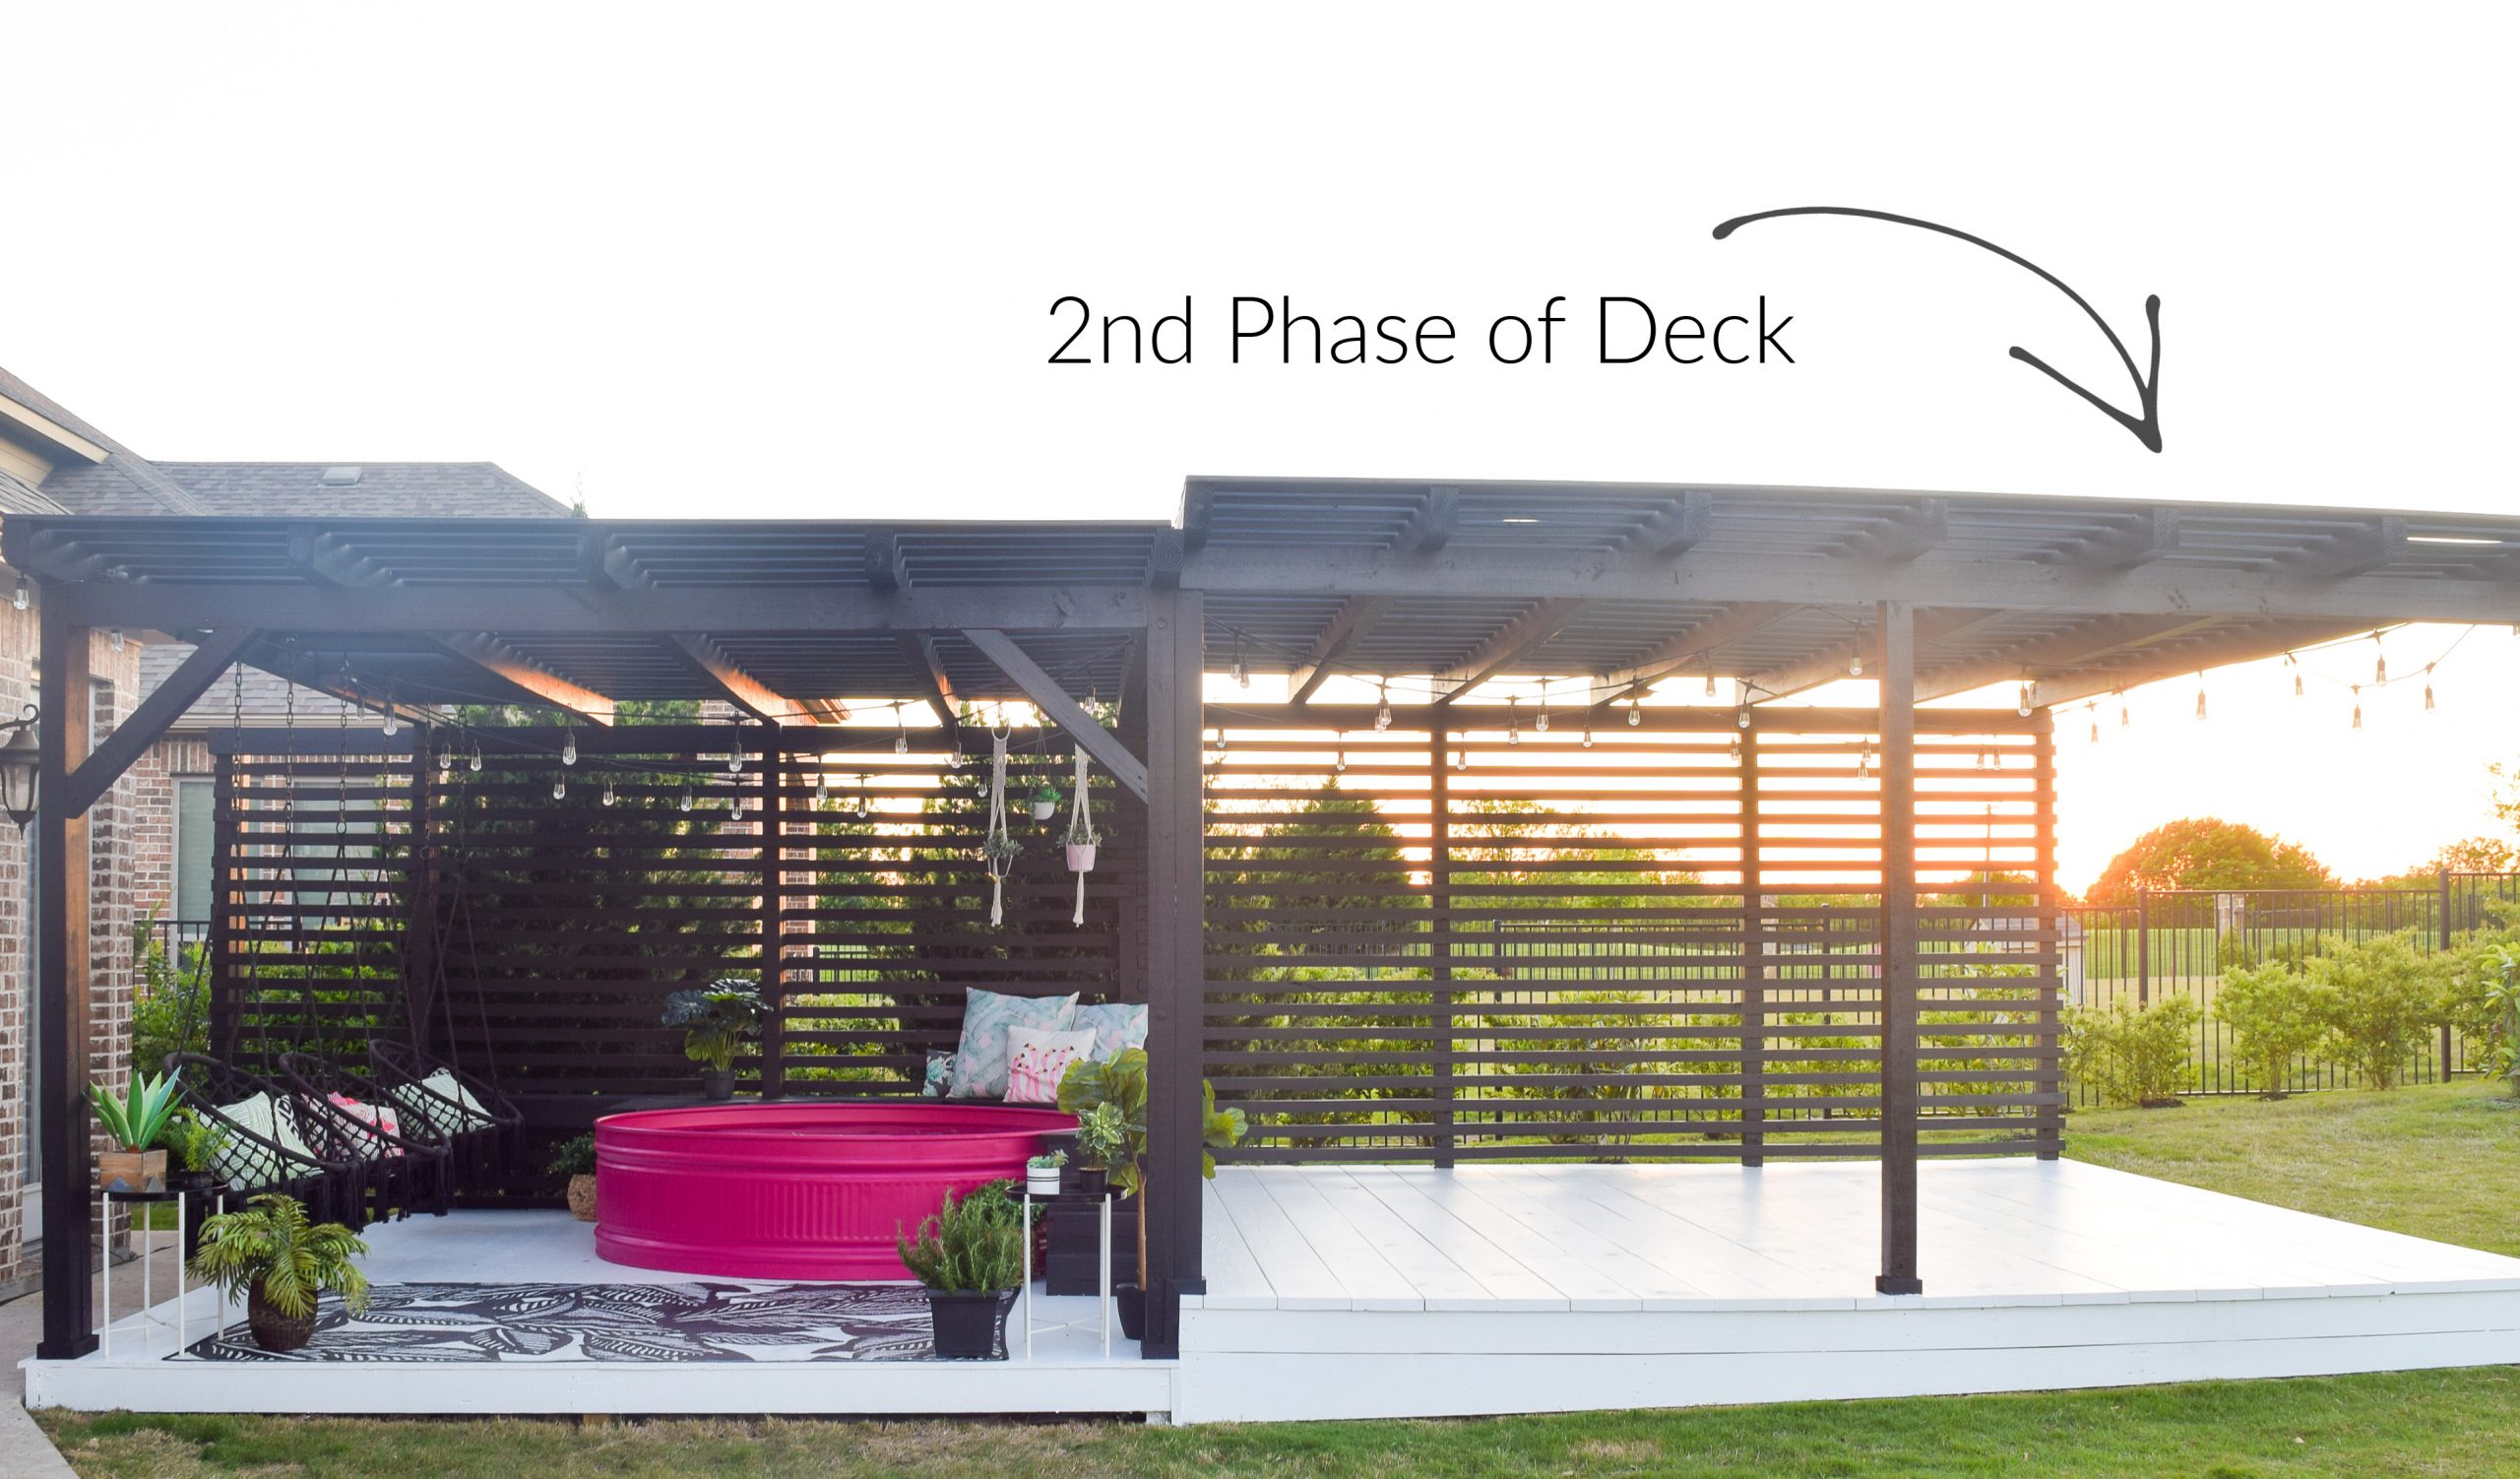
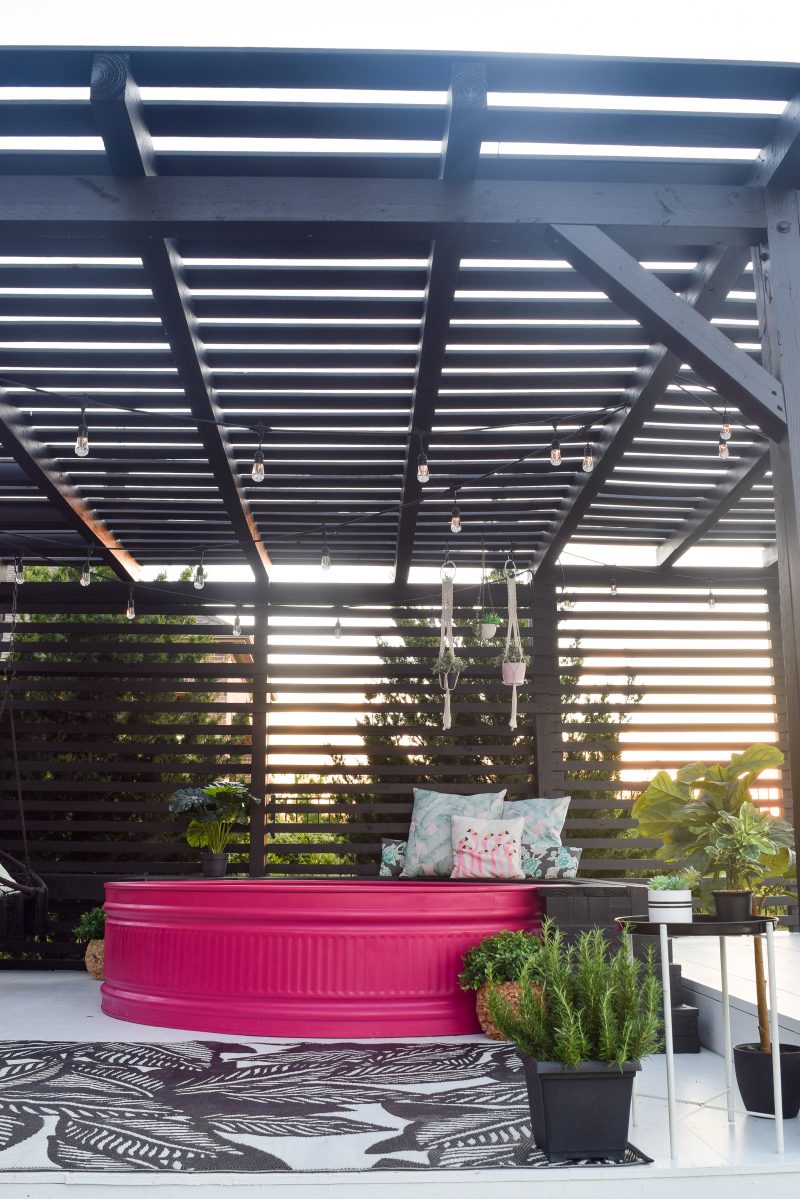
STOCK TANK POOL AND DECK ONE YEAR LATER:
A big difference right??
The two main changes were painting the deck black and adding a second phase of decking next to the stock tank area. The new deck area is even bigger and will eventually hold a patio table and chairs for outdoor dining!
I mentioned in my original post that the plan was always to paint the deck black. We decided to wait until the second phase was complete and paint it all at once.
What do y’all think? Do you like the contrast of black and white, or prefer the natural wood? I’m really loving the black!
Along with the major aesthetic changes we’ve made, we’ve also learned a lot about the stock tank pool maintenance.
A lot of people having been asking how did the stock tank pool hold up after one year? In this post I’ll be answering the most frequent questions I get about the stock tank pool and what we’ve learned since installing it last Summer.
Stock Tank Pool Maintenance
After summertime came to an end, we decided to drain the stock tank pool and leave it empty over the fall and winter months. There’s a drain hole at the bottom side of the pool that helps get the draining started. After most of the water is out we flip the stock tank over to get the water out completely.
We actually left our stock tank flipped upside down during fall and winter. We didn’t want the inside collecting leaves and bugs, and we haven’t found a great option for a cover yet. Let me know if you have a cover you are using and love – still not sure of a great one to get. In the meantime, our kids loved stomping on their new loud stage area 😉
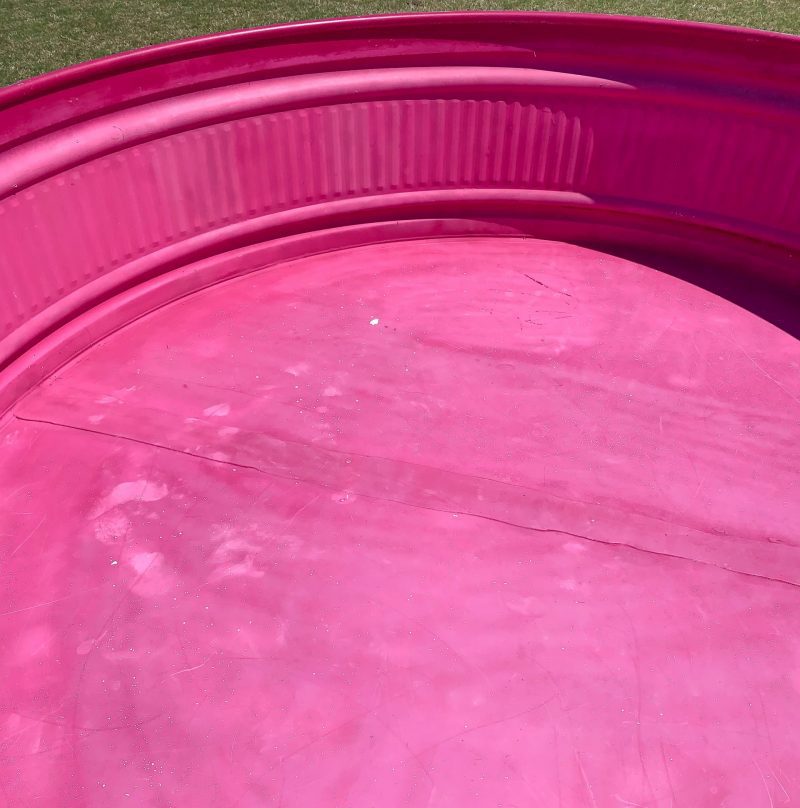
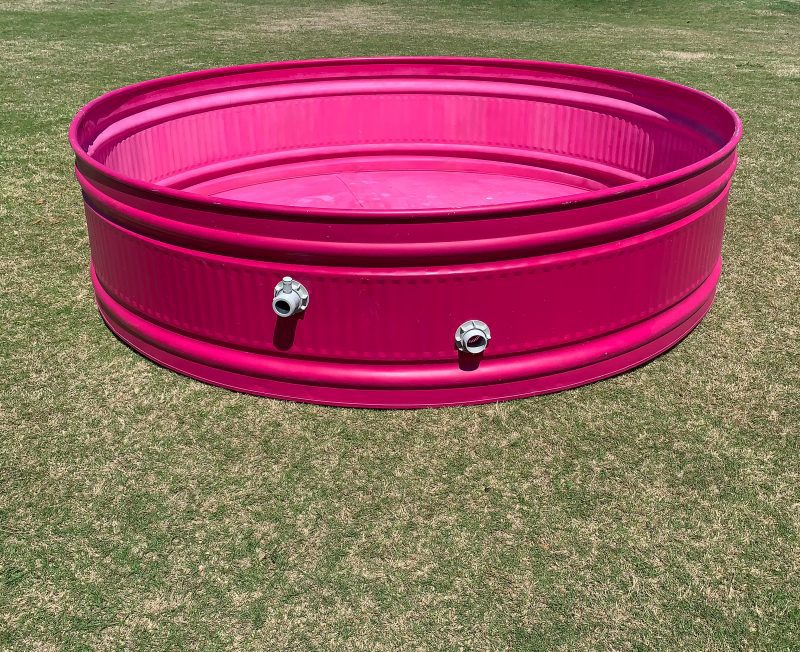
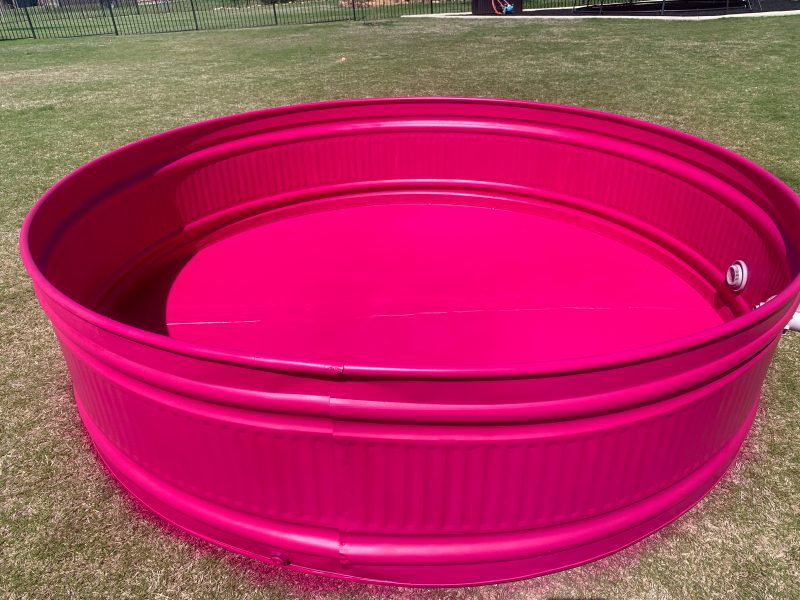
Once we were ready to fill the stock tank back up, we flipped it back over and brought it out to the grass area of our yard. You can see the inside had the most fading and splotches.
The outside of the stock tank held up really well! There were several paint scratches around the rim of the stock tank, but that was probably from having it upside down and kids stomping all over it!
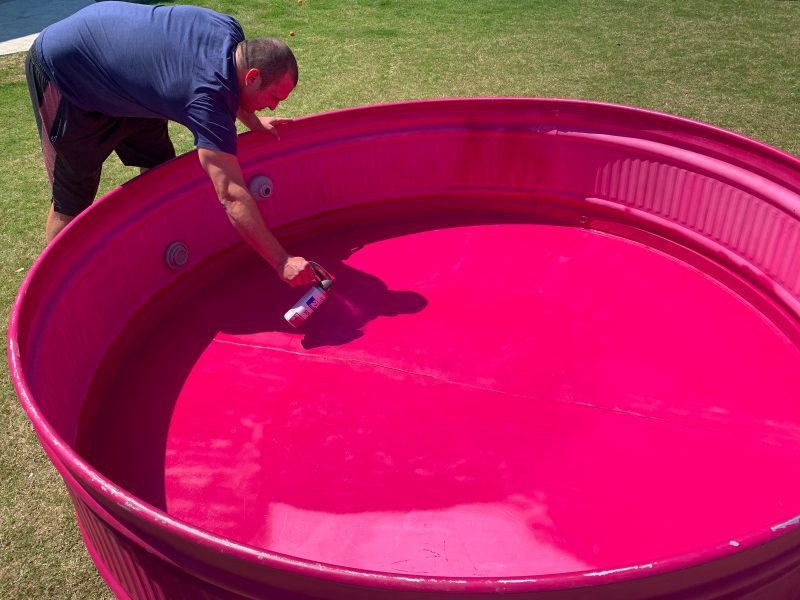
We wiped down the inside with a dry towel and did one coat of spray paint. The first time we spray painted last Summer the stock tank soaked up the paint so fast we had to use so many cans of spray paint!
This time we could tell a difference that the initial coating was helping not to soak in all of the paint. We spray painted the entire inside of the pool and around the top rim, and used about 4 cans of spray paint. It took about 15 minutes and was done!
I think this will be our yearly sequence – when summer ends we will drain and cover the pool or turn it upside down. When spring comes, we will add a coat of paint and fill it back up.
If you want to skip re-painting the pool every year, I would not paint the inside of the pool. You can paint the outside and leave the inside the way it comes. Or add the leak seal spray and the inside will be white.
It doesn’t bother me to have to re-paint each year. Ask me in a few more years and maybe my answer will change, ha! I think it’s worth it having the inside of the pool be bright pink! But you may want to weigh your options and what you think is important/realistic for you.
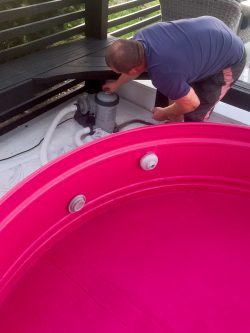
After we paint and let dry, we move the stock tank pool back in place and hook it back up to the pump. We will keep it clean with the pool skimmer and chlorine tabs in the pool floater over the spring and summer months.
MOST COMMON STOCK TANK POOL QUESTIONS
These are the questions I get asked most frequently regarding our stock tank pool. Let me know if you have any other stock tank pool questions in the comments below and I’ll be happy to answer!
How do you paint a stock tank pool?
Painting the stock tank pool is pretty easy – it just takes a lot of time and paint!
We started with the outside first. We wiped down the entire stock tank, and start spraying with spray paint. I use Rustoleum Painter’s Touch Spray Paint and attach it to the Rustoleum Comfort Grip. This helps SO MUCH with hand cramps while you’re spray painting. We used about 20 cans of magenta pink spray paint – it was A LOT! We probably could have used a third of that if we only painted the outside.
After we paint the outside of the stock tank, we do a single coating of white Rustoleum Leak Seal Rubber Sealant on the inside of the pool. Honestly, Bryan isn’t completely convinced that leak seal helps with leaks, and that regular spray paint would do the trick. But we didn’t have one leak all summer! It also helps give the inside one more layer for the paint to stick to and not peel off as easily.
After spraying the inside with the leak seal we spray the pink spray paint on top. We did about 3 coats of spray paint on the inside and outside.
How does the paint hold up on the stock tank pool?
This is probably my most asked question! The paint doesn’t stay perfect, and we did have some paint chipping after a couple of months of use.
Towards the end of the summer, we noticed teeny tiny dots on the bottom of the pool where the paint was starting to chip away. It wasn’t very noticeable, they looked like small little white specks. But the paint did start to chip away on the bottom, and if the pump was off you could see the tiny white specks on the bottom of the stock tank pool.
The paint chipping wasn’t as bad as I thought it would be and if I had to do it over again I would. If you are wanting the pool to stay in pristine condition and don’t want to maintain the painting every so often, then I would skip the paint – or only paint the outside of the pool and leave the inside as-is.
Will a stock tank pool rust?
Water alone will not rust your stock tank. A galvanized stock tank is meant to hold water as a water source for livestock. But adding chlorine to the stock tank is where it gets tricky.
There are mixed views on what will make the stock tank start to rust and how to prevent it. What I learned was that the chlorine can cause the pool to rust, but if you buy a floating pool dispenser to put the chlorine tabs in (instead of adding chlorine directly to the water) this helps prevent the pool from rusting. We used a pool floater to clean the pool all last summer – when we were re-painting the pool we noticed one small area on the side that had rust. We painted over it with the pink spray paint and you can’t see the rust spot anymore.
How do you empty a stock tank pool?
We emptied our stock tank pool after summer was over and left it empty during the fall and winter months.
There’s a drain hole at the bottom side of the pool that helps get the draining started. After most of the water is out we flip the stock tank over to get the water out completely.
How do you keep a stock pool tank clean?
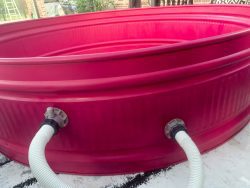
To keep your stock tank pool clean, you need to attach a pool pump. This is the most important step of installing a stock tank pool! The pool pump needs plunger valves and pool jet kit to filter out the debris and keep it clean. When setting up our stock tank pool we followed the steps on this page, except we omit using the silicone sealant. Instead, Bryan added extra washers for a tight fit. The washers were enough to keep the holes airtight. We had ZERO leaks last summer!
We also use a floating chlorine dispenser and add chlorine tablets. I use the pool water test kit to check the chlorine levels.
The stock tank pool can start to collect grass and dirt at the bottom if not cleaned. I use a hand skimmer to get out the debris and also set a timer on the pool pump to run everyday for a couple hours. This helps keep the water moving and filter out the dirt collecting at the bottom. What the pool pump can’t get out, I manually clean out with the hand skimmer every few days.
What supplies do I need to setup a stock tank pool?
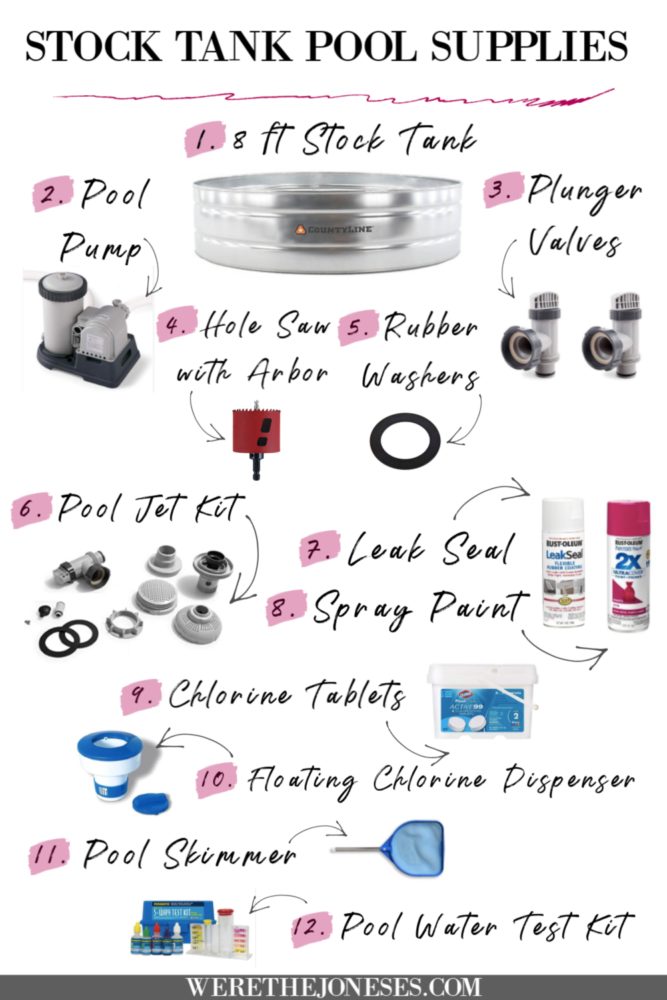
These are all the essential items you need to setup a stock tank pool. Numbers 1-6 are the most important to get started and 9-12 will help you maintain your pool and keep it clean. All these stock tank pool items are linked below – click the images to shop for the parts you need!
We searched online to find the best stock tank pool option, and after researching we bought the 8 ft extra large stock tank from our local Tractor Supply. You can order online HERE and pickup at your local Tractor Supply store. Or you can order online and get it delivered to your house. (This is a good option if you don’t have a Tractor Supply nearby or a big vehicle to fit it in!)
Stock Tank Pool and Deck Updates
We’ve made a lot of changes to the deck the past few months!
When we first dreamed up this backyard space we wanted to have three deck areas: 1st phase is the stock tank pool deck, the 2nd phase will have a patio table and chairs, and the 3rd phase will include more outside seating with a patio sectional sofa.
Bryan built the first phase of decking last summer and added the second deck area this past fall. He’s in no rush to build the third phase – we are enjoying having these two areas for now! Maybe next year we will have the third phase complete 🙂
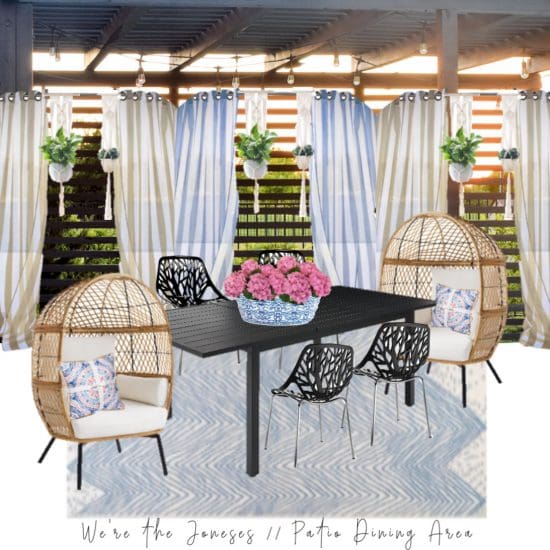
I just sold our older patio furniture on Facebook Marketplace and I’m excited to use that money to find a new patio table and chairs! I’m envisioning a long rectangle table with really fun egg chairs on each end. Here is my vision board for the new deck area. I’ll update you as this 2nd deck phase is complete!
I’m wanting to add more of a modern coastal look to this outdoor area and would love to bring in more ocean blues and neutrals to soften up the space.
I might also get a matching rug for the stock tank area and add some blue and cream pillows to the black swings to tie it all together. What do y’all think?
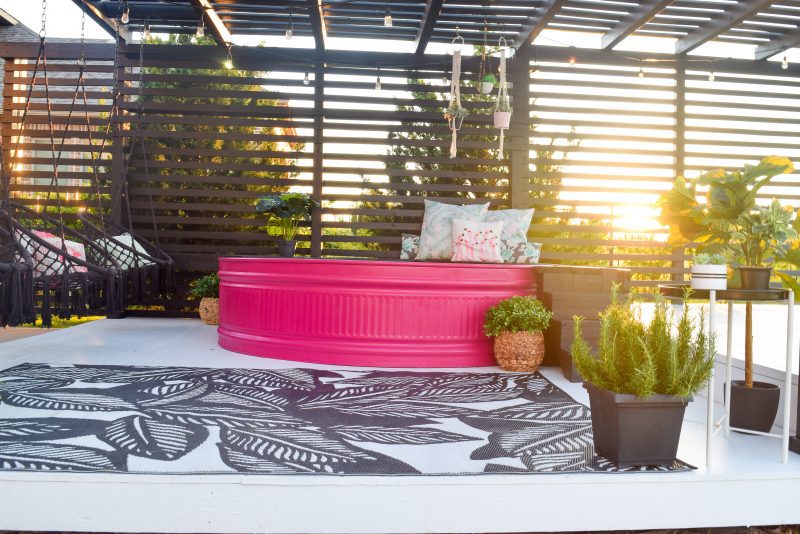
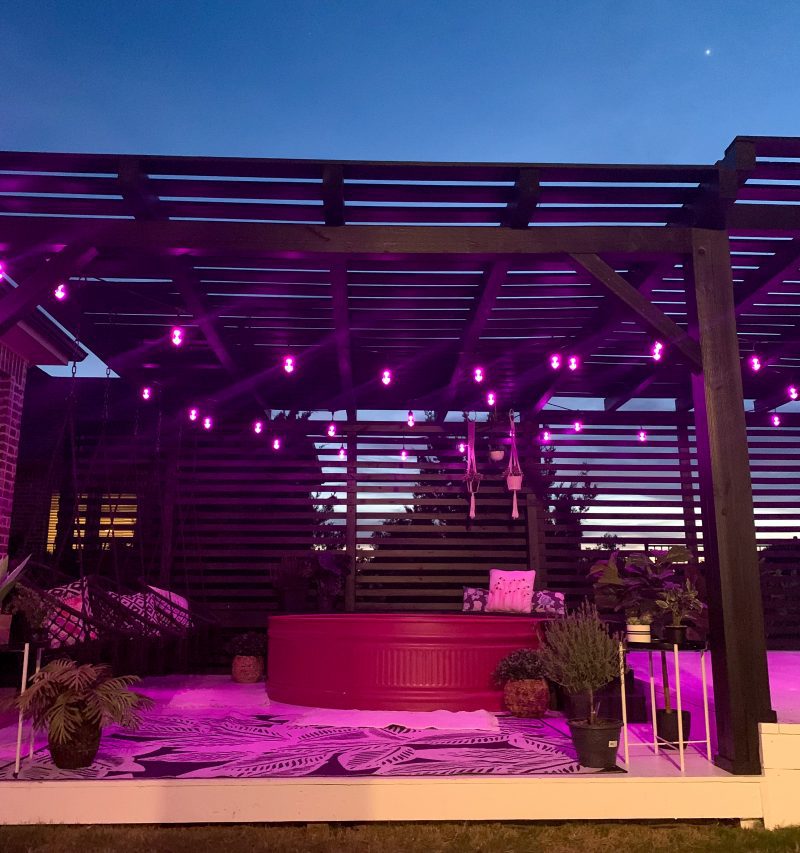
Here’s the stock tank area all lit up at night with our color changing string lights. Genevieve and Georgia love having the pink and purple lights on at night!
I hope I was able to answer most of your stock tank pool questions in this update post! Is there anything else you want to know? Don’t hesitate to ask me a question in the comments – I’d love to help answer any questions you have about your own stock tank pool DIY!
We’re excited to spend another summer hanging out in this area of our backyard! The kids spent MANY hours playing in the stock tank pool last year, and have already got back in it last weekend. I can’t wait to show you the second and third deck phases and will bring you along as we work on them!
Happy DIYing and Stock Tank Swimming!
WE THINK YOU'LL LOVE THESE STOCK TANK POOL POSTS:





Hi Michelle! So exciting! I don’t think it’s too rough on bottom or sides, my three kiddos play it with no issues. But a liner could help it feel a little more smooth. Mine has a strip down the middle on the bottom, and that part could be a little smoother. Hope that helps! 🙂
Hi Michelle! So exciting! I don’t think it’s too rough on bottom or sides, my three kiddos play it with no issues. But a liner could help it feel a little more smooth. Mine has a strip down the middle on the bottom, and that part could be a little smoother. Hope that helps! 🙂
Hi there! We are buying our stock tank this weekend and I noticed you don’t have a liner on yours! Did you notice anything or have any issues in regards to it being rough on the bottom or sides? Thank you!
Really awesome job!! thanks for sharing the update
Thank you so much Donna!
Hello, love the pool and deck! Do you recall about how much the whole setup cost, pool, filter, etc.? Thank you!
Hey!
We were wondering if you did anything extra to support the deck, knowing how heavy the pool would be? We built a deck and are waiting for the tank to come in and now my hubby is nervous about the weight.
Thanks for posting this, it was super inspiring!
Jenna
Hello, have you posted the DIY for the deck itself? We love the setup and would really like to do something similar.