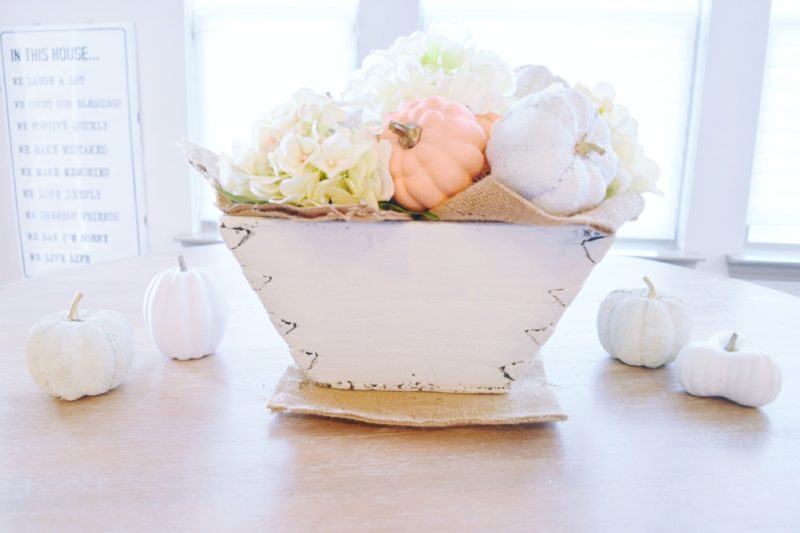
The easiest DIY Fall centerpiece! No more dated brown and beige pumpkins – how to paint your pumpkins white + peachy apricot for a updated modern Fall look. You don’t have to spend money on new Fall decor – instead you can “shop your space” – and use the Fall decor you already have and give it a pretty painted refresh!
Need more ideas for Fall decorating? Check out these posts: Modern Fall Mantle, How To Decorate For Fall With Non-Traditional Color Palettes, and Favorite Fall Decor That’s Easy + Affordable
Painted Pumpkins DIY Fall Centerpiece
Happy Fall Yall!
It’s still summer weather here in Texas, but I’m decorating my house like there’s Autumn in the air.
I’ve started a new series on the blog called Shop Your Space, and this is my first post for this new fun series! “Shop Your Space” will be a weekly post on my blog where I “shop” my house for decor items I want to revamp and give a new life, instead of going shopping and spending $$$ in a store.
I am always a little hesitant with DIYing, I’m the first to tell ya I’m not the best at it and I’m definitely no pro. I basically do one of two things: I watch a You Tube video and follow the tutorial step by step, pausing and replaying it a million times along the way, OR I just go rogue and do my own trial and error. Sometimes it works and sometimes it’s a total fail, but it’s fun experimenting and pushing my creativity limits!
I have seen a LOT of DIY painted pumpkins this year on Instagram and Pinterest, and it sparked me to get my own paint out and join in on the painted pumpkin (and painted EVERYTHING!) fun.
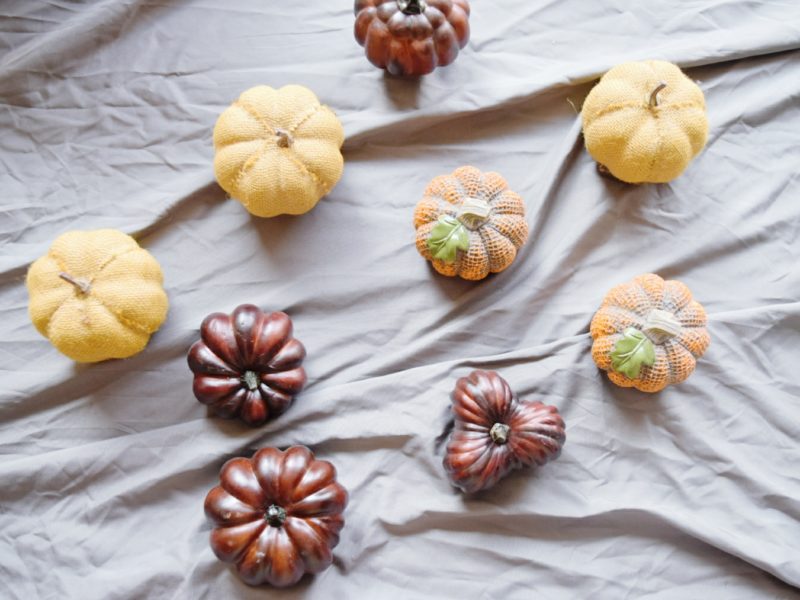
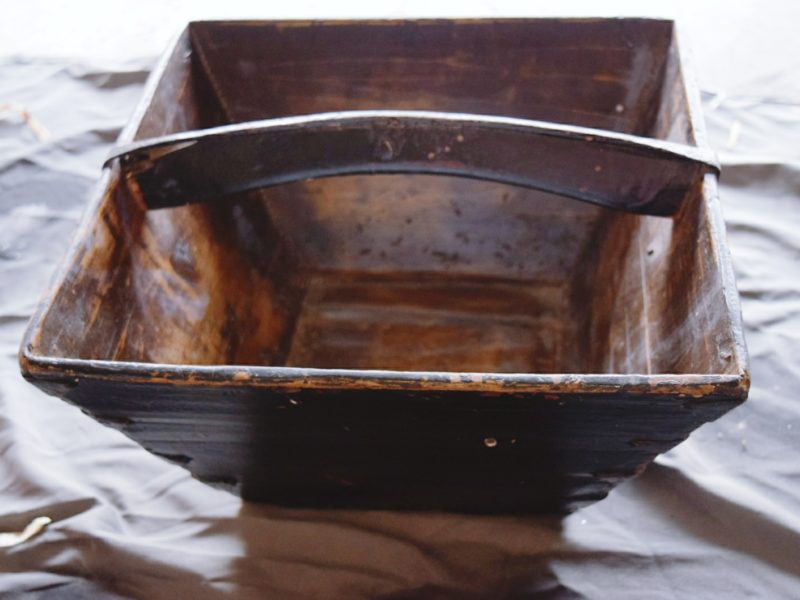
In this Shop You Space post, I wanted to create an easy Fall centerpiece for my breakfast table. I got out my fall decorations box from the attic, and collected a variety of small pumpkins I’ve collected over the years, along with a dark wood basket I’ve had for forever but haven’t used to decorate with since we moved into our house and it never really seemed to go with our updated decor.
How To Paint Pumpkins DIY Tutorial:
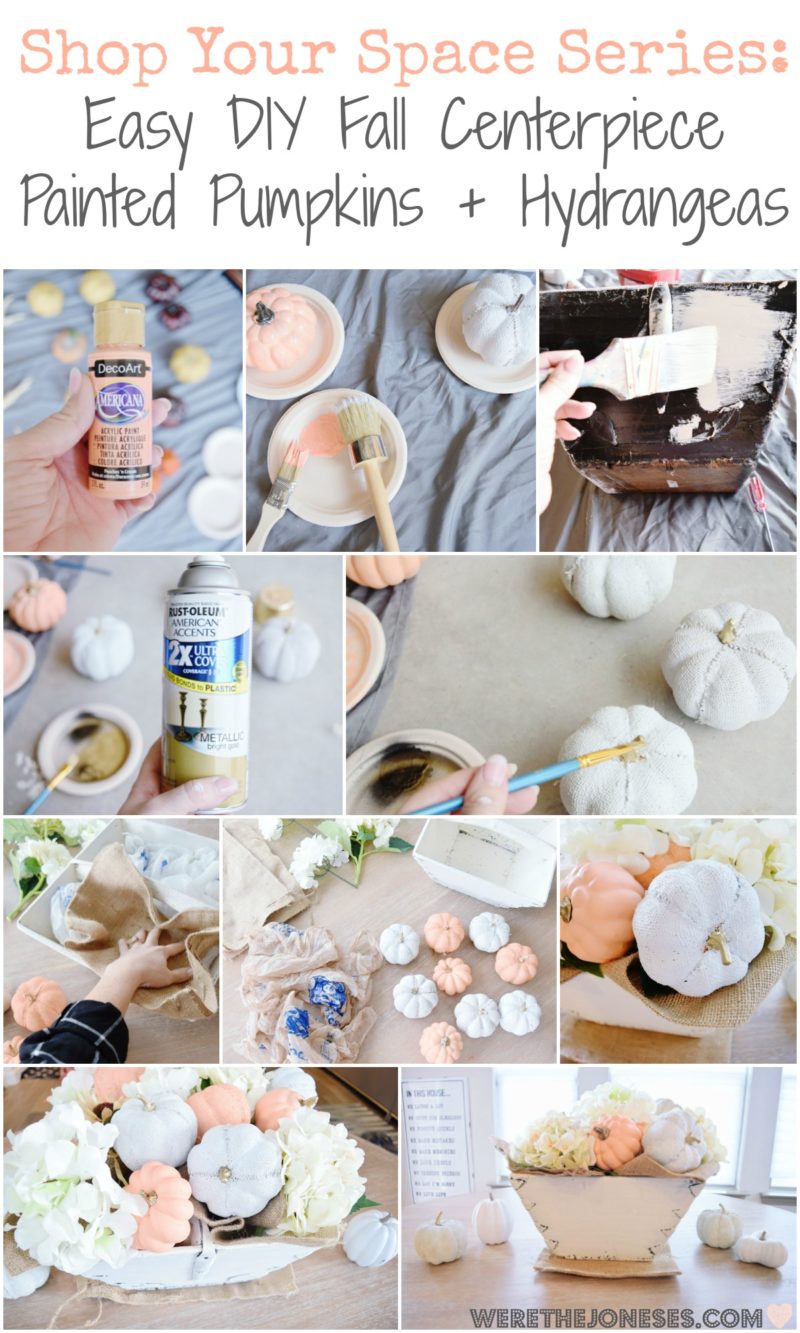
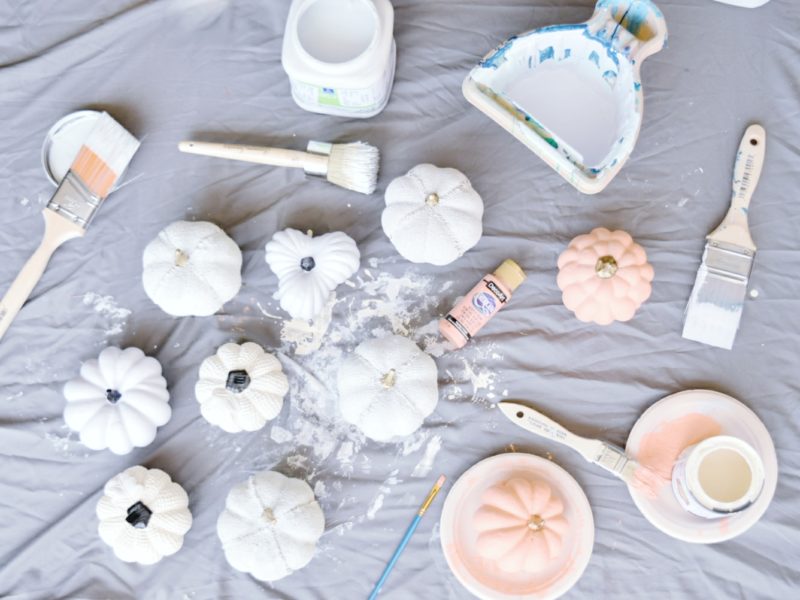
I laid out an old sheet on our garage floor and started sifting through my paint shelf to find some paints to experiment with.
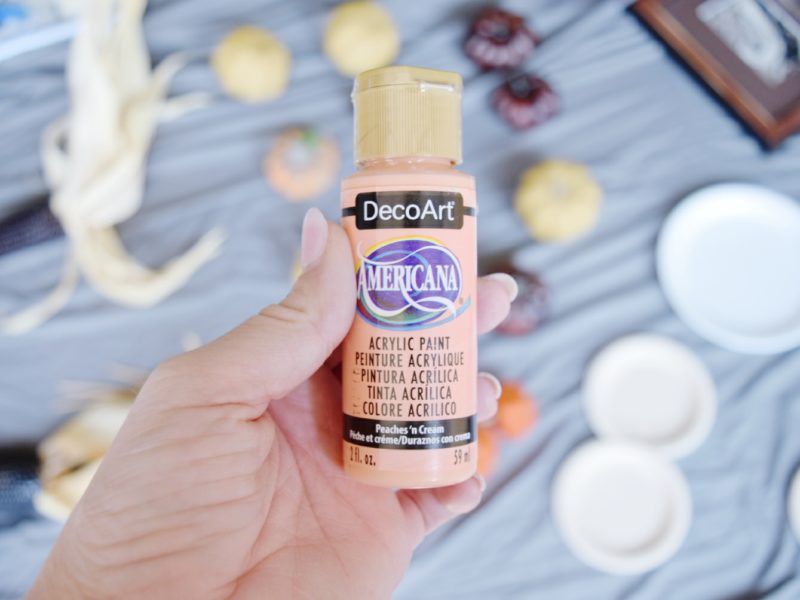
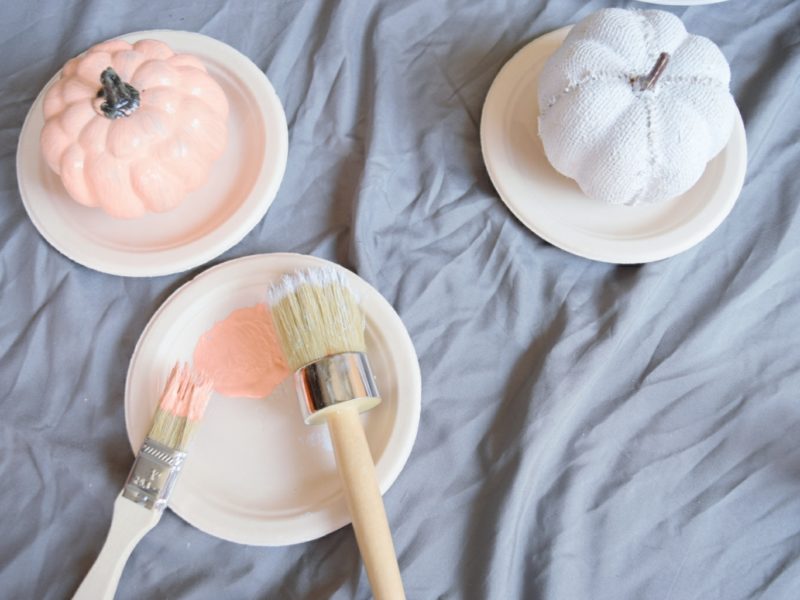
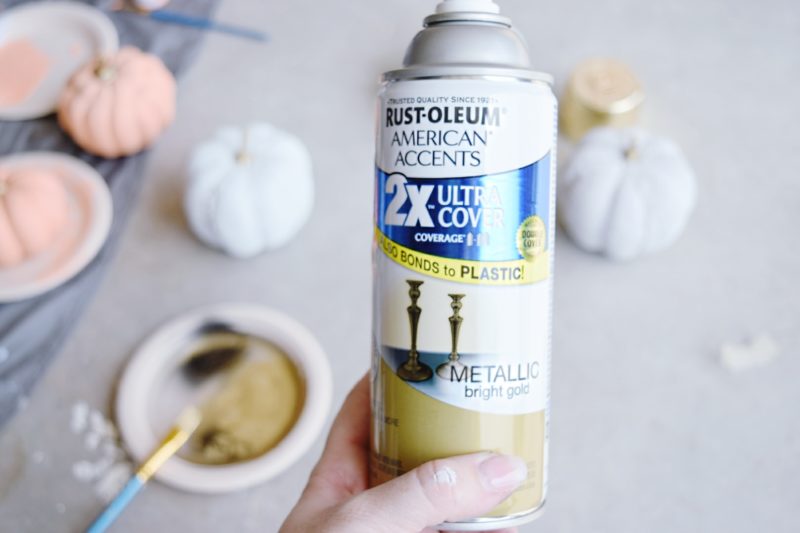
I bought a peach colored acrylic paint a couple months ago for another DIY project, and I thought it would be a fun alternative to the traditional orange colored pumpkin. I also had a few different sample white latex paints from Sherwin Williams that I was testing out for painting our guest room, and I had gold spray paint left over from Georgia and Genevieve’s nursery shelves we spray painted, and I used it for the pumpkin stems.
I tested out different paint brushes to see which worked best, and my favorite by far was the circular wax brush. It seemed to get in all the little holes and indentions really easily on both the burlap and plastic pumpkins.
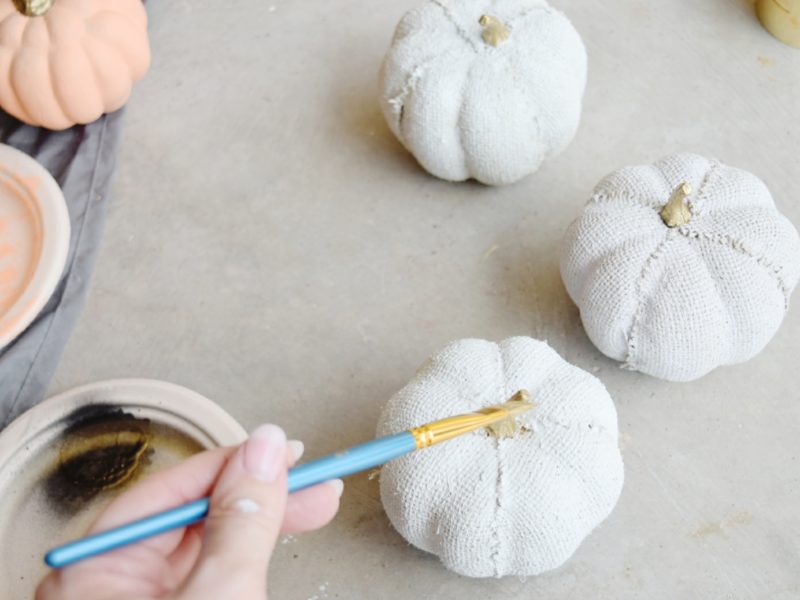
Since I didn’t have regular gold paint, when I was ready to paint the stems I sprayed the spray paint directly on a paper plate, and before it could dry, I dabbed a small paint brush in the paint to use for the pumpkin stems. This worked really well! I love the touch of gold against the peach and white, I feel like it glams it up a little!
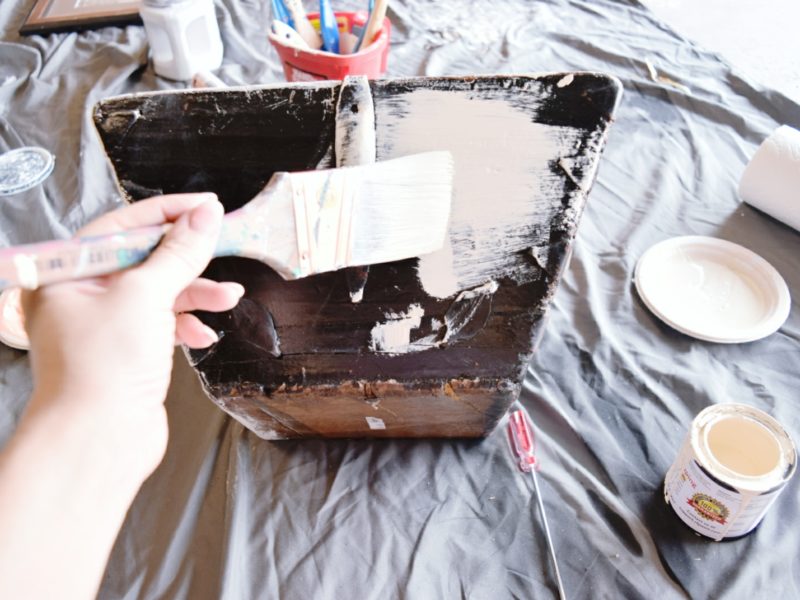
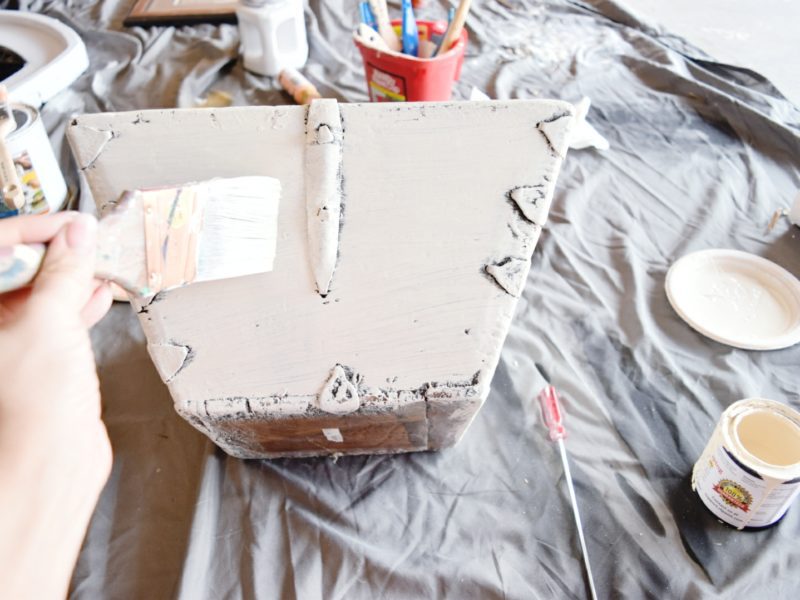
Next up was my dark brown wooden basket! I seriously think this baby has been with us since our newlywed days and was in need of a bright and light face lift.
I purchase pretty much my whole house on Amazon these days, and I recently discovered the Renaissance chalk paint that is sold on their site. I’ve tested out a few colors already, and this color Ivory Tower is one of my favorites! It’s a beautiful antique white, and it covers sooo good! I didn’t do any prep work on the wood, just cleaned it off with a lent free cloth and starting painting.
{PIN FOR LATER}
Now that everything is painted, it’s time for the arranging!
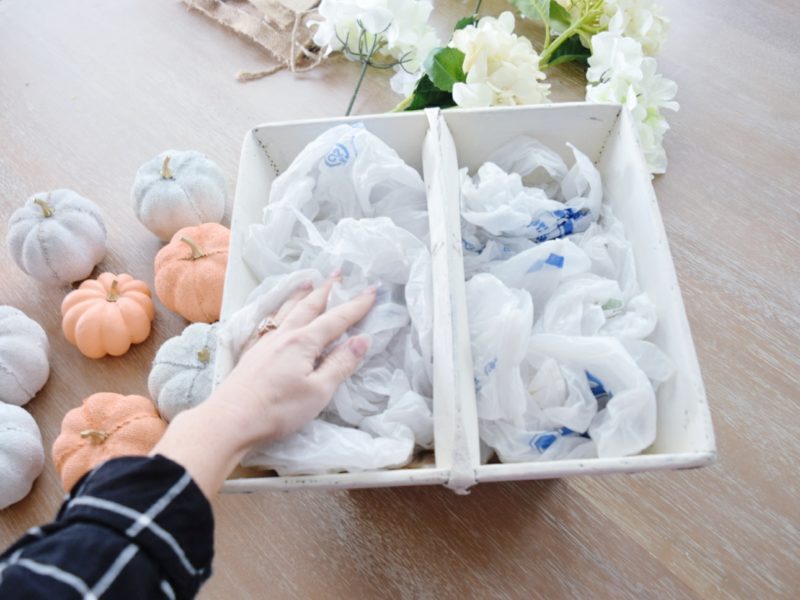
If you watch my Instagram Stories, you might be familiar with my all-time favorite decorating hack: plastic bags. I use them so much in my mechanics when decorating around my house. They are perfect for adding height and filling up empty space in arrangements, centerpieces, vases, you name it! And you can’t beat free, right?
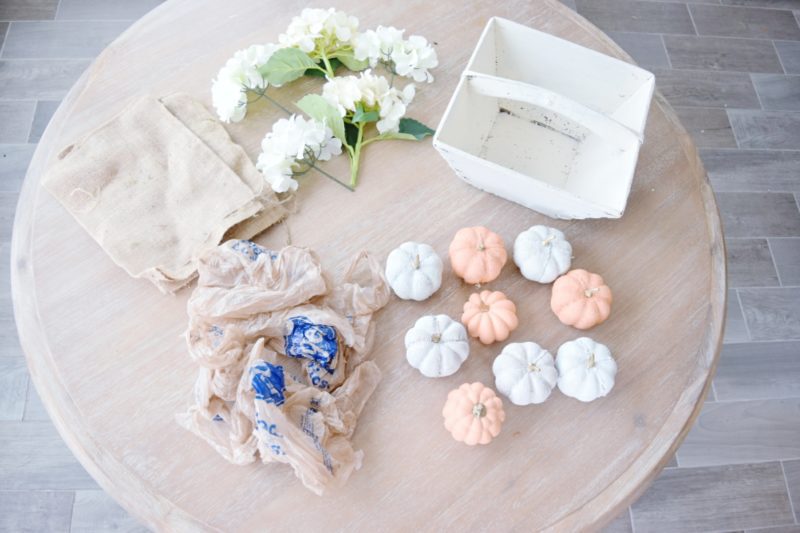
Here are the items I used for my simple fall arrangement:
Painted Pumpkins DIY Centerpiece Items:
a mix of white and cream hydrangea stems
5 burlap sacks (I like to buy them in bulk from here and always have them on hand!)
plastic bags
painted pumpkins
painted wooden basket
How to Make an Easy Fall Arrangement:
I add the plastic bags in first to create some height. No reason to have to buy extra decor to fill up your arrangement when you can add bags, newspaper, craft paper, etc. to fill it up.
It also helps if you’re worried about your items staying or falling out, it gives you something to glue or tape the flowers and pumpkins to.
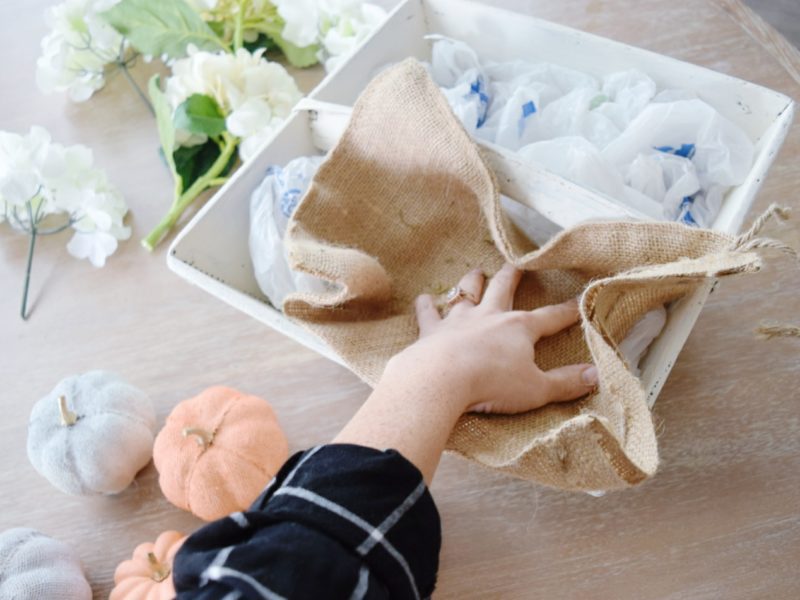
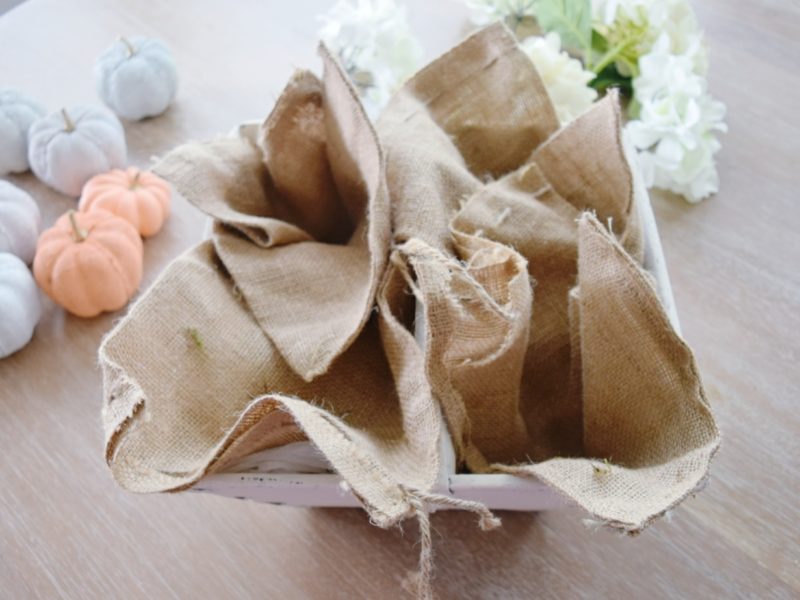
Next, I add in some burlap sacks to hide the plastic bags and to get the arrangement added texture.
My favorite place to buy burlap sacks is Uline, they are SO cheap when you buy them in bulk and I love having an assortment on hand anytime I am decorating for the holidays. They’re so versatile, I use them in arrangements, placemats, and the small sacks as utensil holders. If you don’t want a huge amount, you can also find smaller quantities on Amazon too.
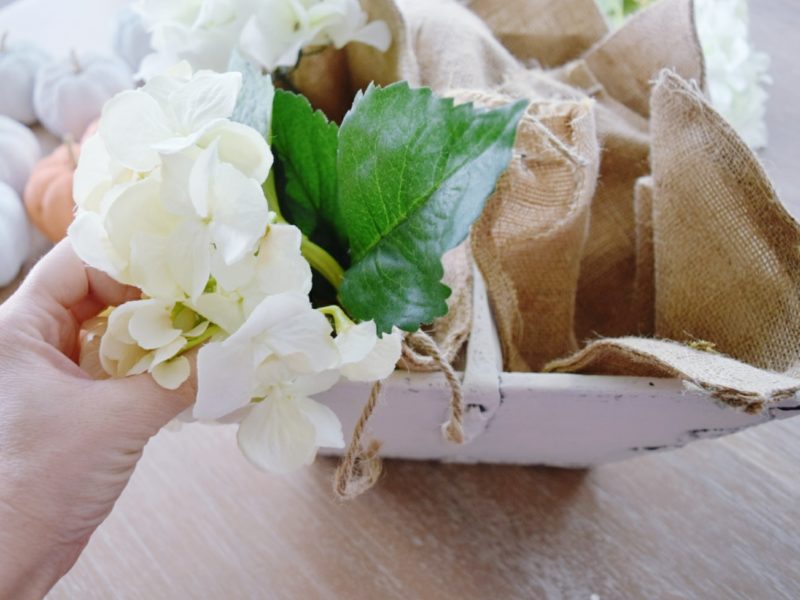
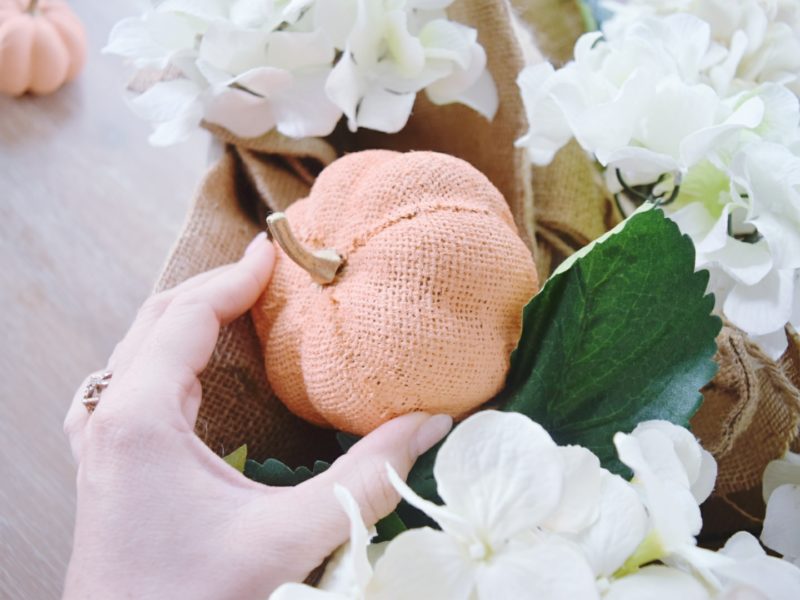
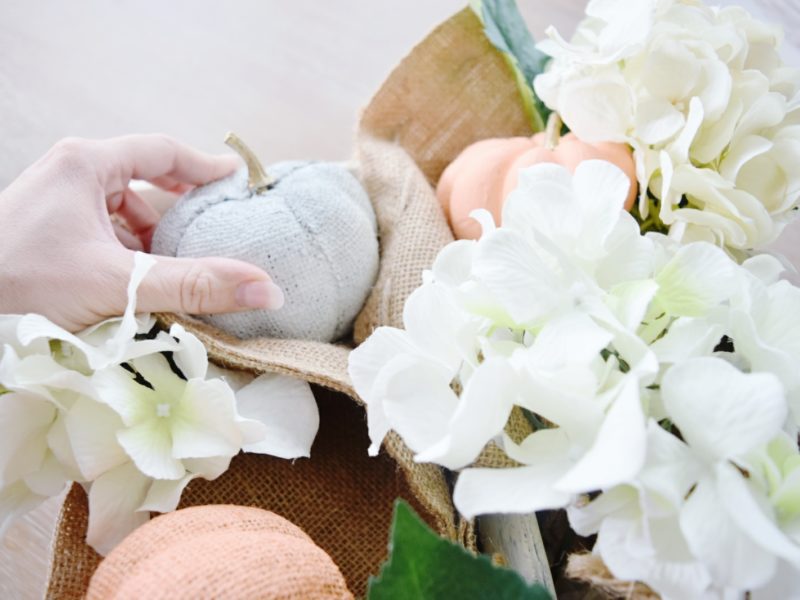
Now I start adding in the hydrangeas and pumpkins.
I add in the hydrangeas first to give it a good base, and then arrange the pumpkins around them. And waaalaa! Simple DIY Fall Centerpiece is complete!
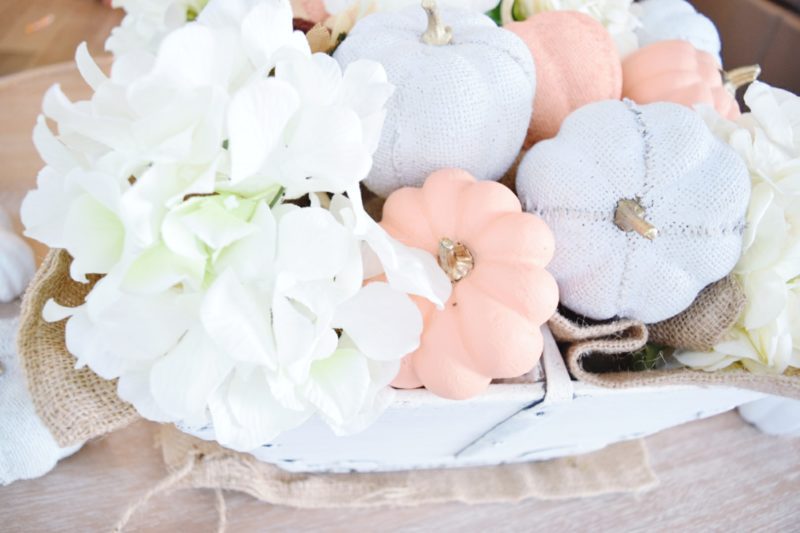
TABLE | CHAIRS | CHAIR COVERS
This was a relatively easy DIY and as my mom said to me, once you get started (on painting) you never want to stop!! And it’s SO true…my next few “Shop Your Space” posts will definitely be centered around painting other decor I’ve found around my house to help brighten it up!
Have you tried painting pumpkins yet? Let me know how your experience goes in the comments and ask me any questions you have below!
Have a great Friday y’all!



I LOVE this! So simple with the soft colors, but such a big impact in the space. Definitely need to do this with some things I already have<3
This looks so pretty!
This is such an adorable idea! they look so gorgeous
This looks amazing!! I’m terrible at this kind of thing but what a great use of materials and such pretty decor!
I love a good DIY project! What a great way to repurpose your stuff. It turned out beautiful!
Awesome! I have extra burlap from our wedding! What an awesome idea.
I will have to try painting some pumpkins for our house… I’m not big on traditional fall colors, but I can totally see myself mixing it up a bit with this simple DIY. Thanks for sharing!