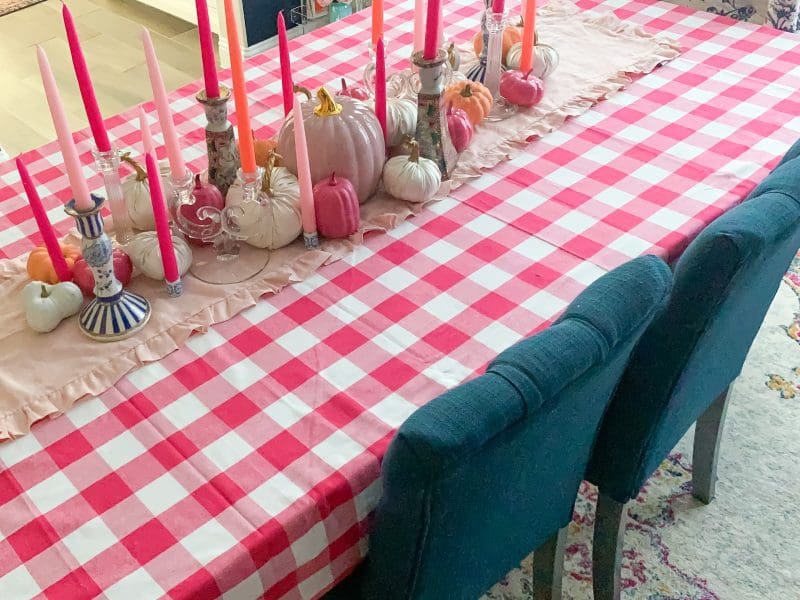
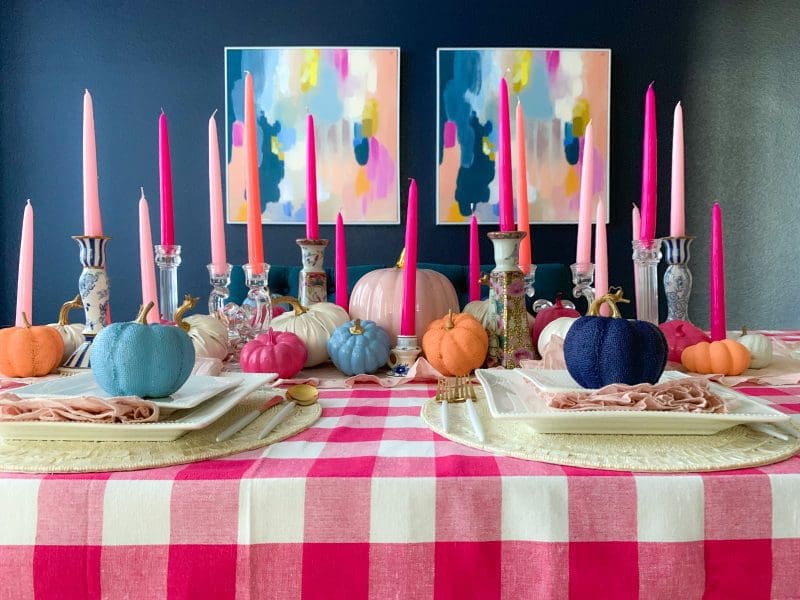
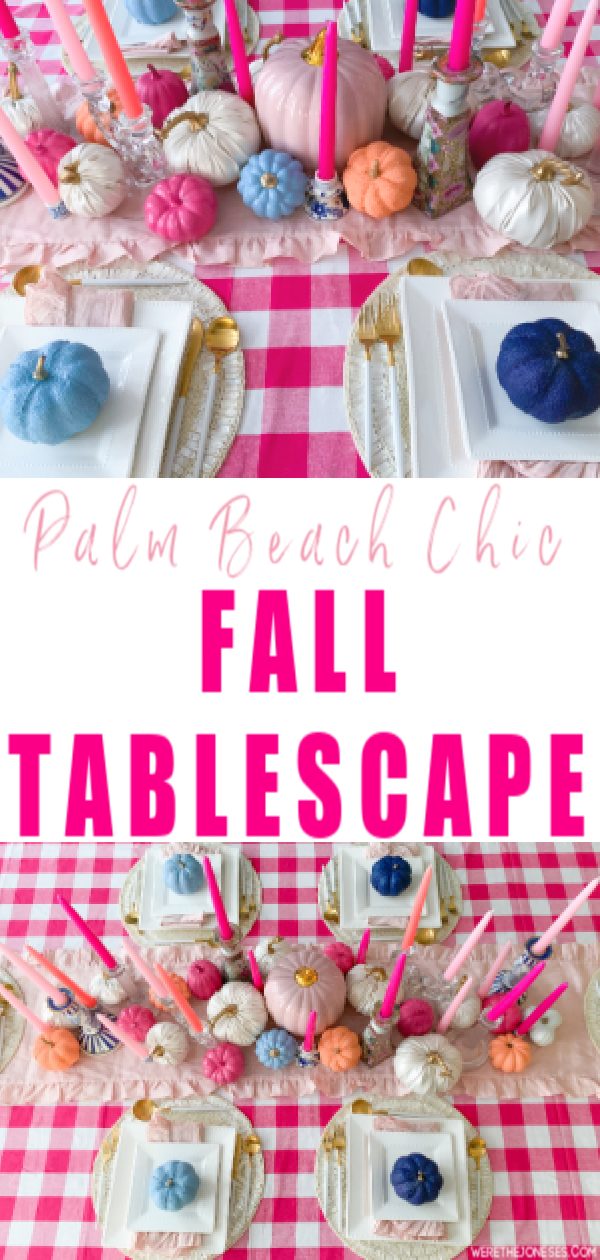
I’m sharing my 3 simple steps on how to create a beautiful Fall tablescape! I’ve included an easy step by step tutorial (and video!) on how to decorate your Fall table. This year I wanted to create a colorful + modern tablescape and use shades of pinks and blues for my Fall decor. I created a modern Fall tablescape with a pink gingham tablecloth, painted pink and blue pumpkins, vintage chinoiserie candle holders and lots of pink taper candles! 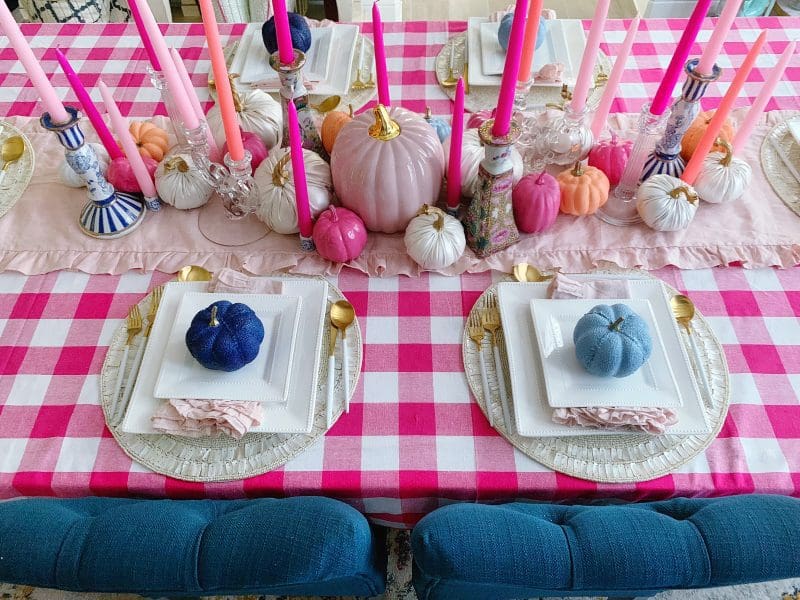
How to create a beautiful Fall tablescape in 3 simple steps
Happy Fall!
I am super excited about Fall this year – and it might just be because of this colorful cheery Fall tablescape!
I was excited to brighten up my Fall decor this year and make it as happy + cheery as my Summer decor. Something about the colorful Fall decor makes me less sad that Summer is ending!
I was excited to brighten up my Fall decor this year and make it as happy + cheery as my Summer decor. Something about the colorful Fall decor makes me less sad that Summer is ending!
I like to use non-traditional colors for Fall, but usually they are more muted tones. This year I’m all about the bright and colorful! If you’ve been following my Instagram stories and Pinterest, you might also know I’ve been a little obsessed with chinoiserie decor as well.
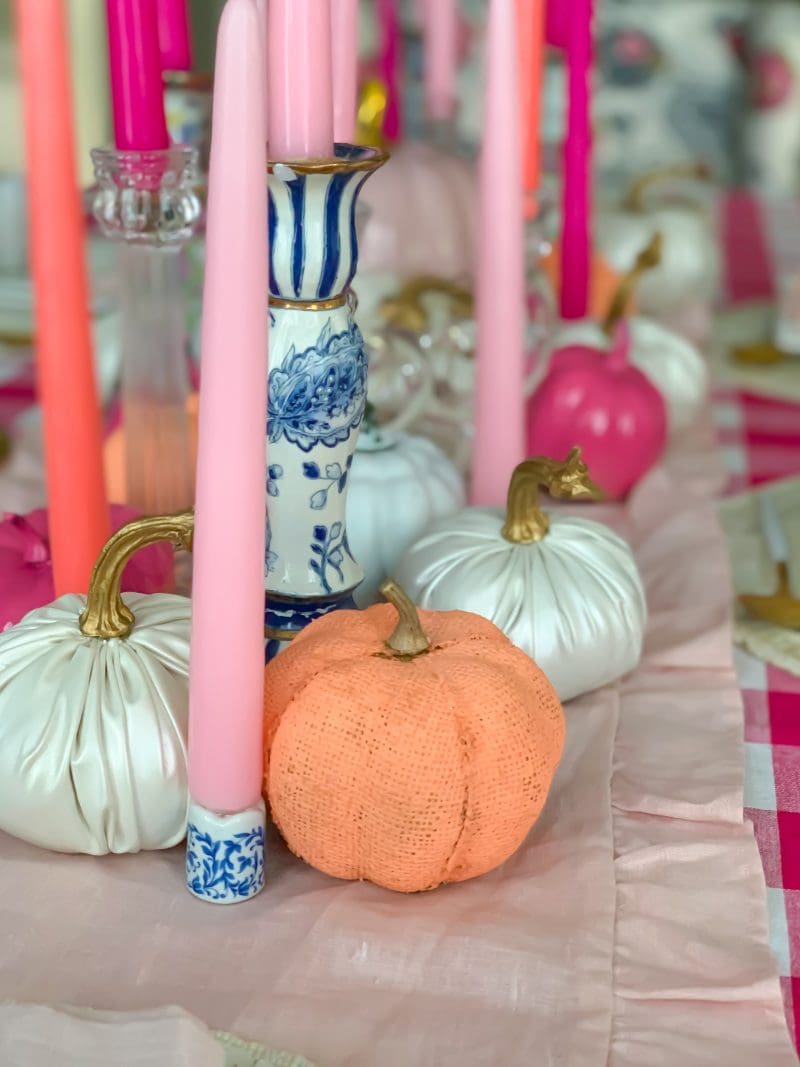
I decided to search for vintage chinoiserie candle holders for my Fall tablescape and I am so in love with the ones I found on Etsy and ebay! I love the added sophistication and whimsy they bring to the table!
We’re getting into the crazy seasonal decorating time of year, and sometimes decorating for EACH holiday can feel super overwhelming.
I wanted to create an easy Fall tablescape tutorial to help you with your Fall decor (or any tablescape decor, I use the same method for each season!) You can follow these simple step by step instructions and pictures on how I decorate my Fall tablescape!
3 Simple Steps to Create a Fall Tablescape:
1. Pick Your Color Scheme
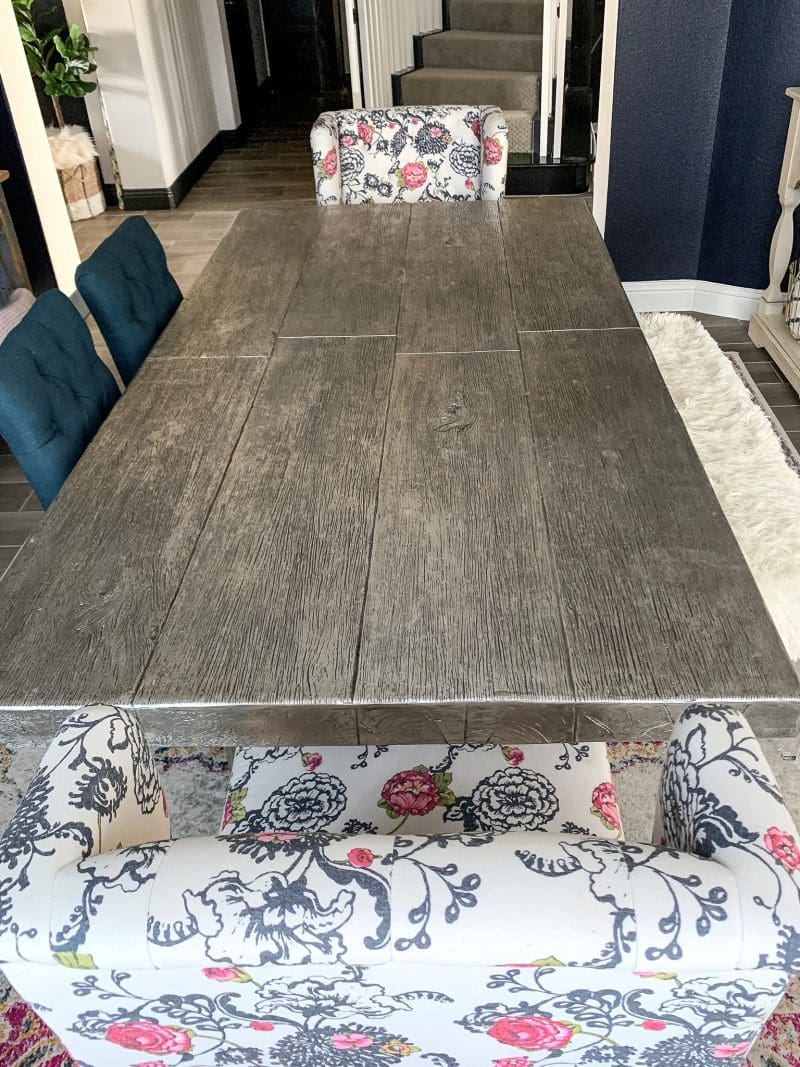
First step when decorating your table is to start with a blank canvas. Remove all the decor off the table so you can have a blank slate to work with.
Next, you want to decide on your color scheme. I like to bring down all the Fall decor I have from the attic to see what I already have. I can pick and choose pieces that I think will work, and then purchase what I still need.
If you aren’t sure what colors you want to use, search for ideas online or in magazines! Do you like neutral colors? Grab your computer and type in “neutral fall table” on Pinterest. If you like a french cottage look, search cottage magazines on Instagram or pickup a magazine at the store.
I’m a visual person and I like to see pictures of home decor inspiration so I can then visualize how I want to decorate. I searched “pink fall decor” on Pinterest and found several ideas that sparked my pink fall table ideas.
Once you pick a color scheme, you can look at the fall decor you already have and decide if it will fit with your overall theme. If all the fall decor you have is orange and yellow, but you want all neutral colors – paint it!
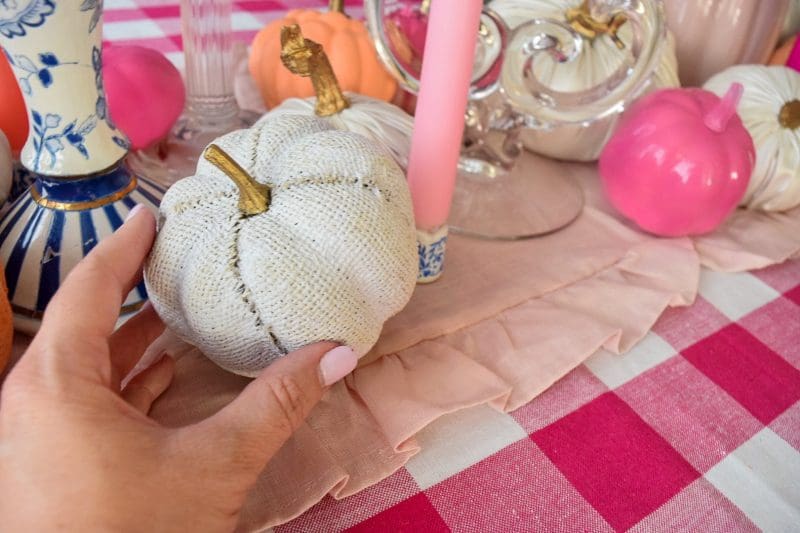
I have a painted pumpkins tutorial where I painted all my beige and brown pumpkins from Dollar Tree. Most of those pumpkins I used in this tablescape – some even got painted for a third time! That’s the great thing about paint, it can keep evolving and changing as your decor tastes change, and is a super easy DIY fix.
2. Add in Layers
After you pick your color scheme and Fall decor items, you can start your layering. I am using 3 layers for my Fall tablescape: base, centerpiece, and place settings.
You don’t always have to use all 3 layers when decorating a table but these are the most common. I like to break it down in layers to help me figure out my design and how/where I am going to place my decor.
Layer 1: Base
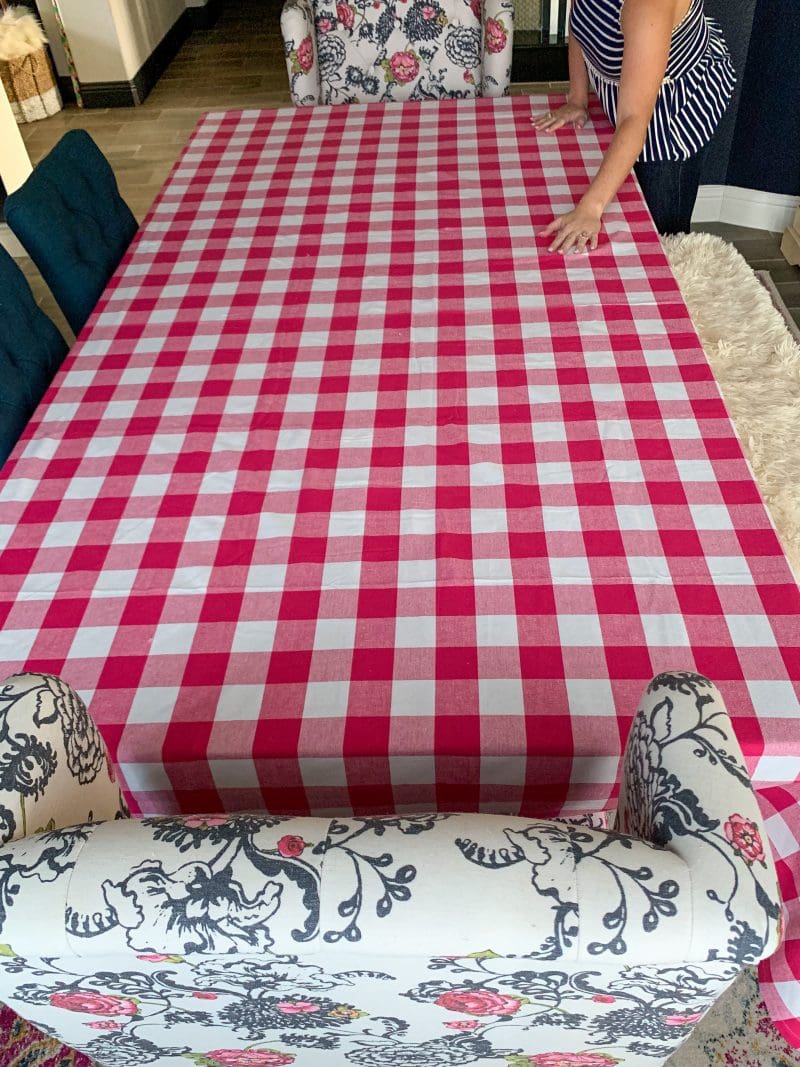
Your first layer is your base layer. For a tablescape, the base layer would be any linens you lay across the table. This could be a tablecloth, a table runner, or both. Maybe you love the look of the table and don’t want to cover it up with a tablecloth or table runner.
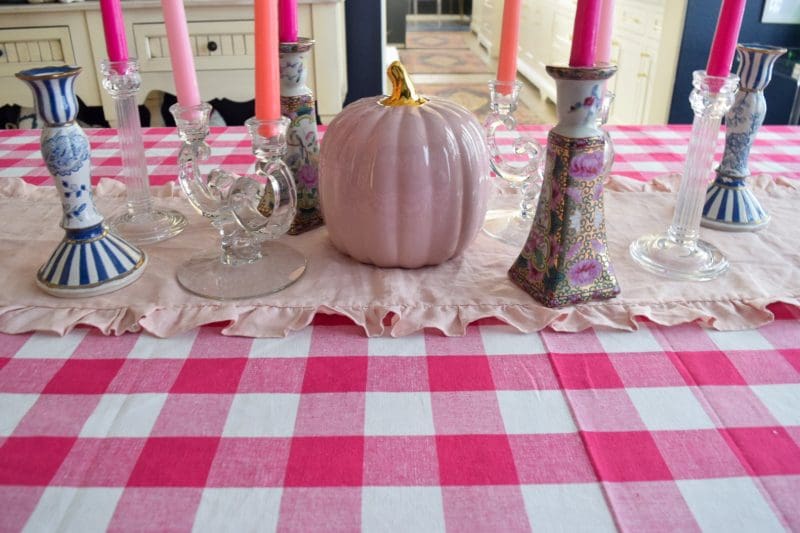
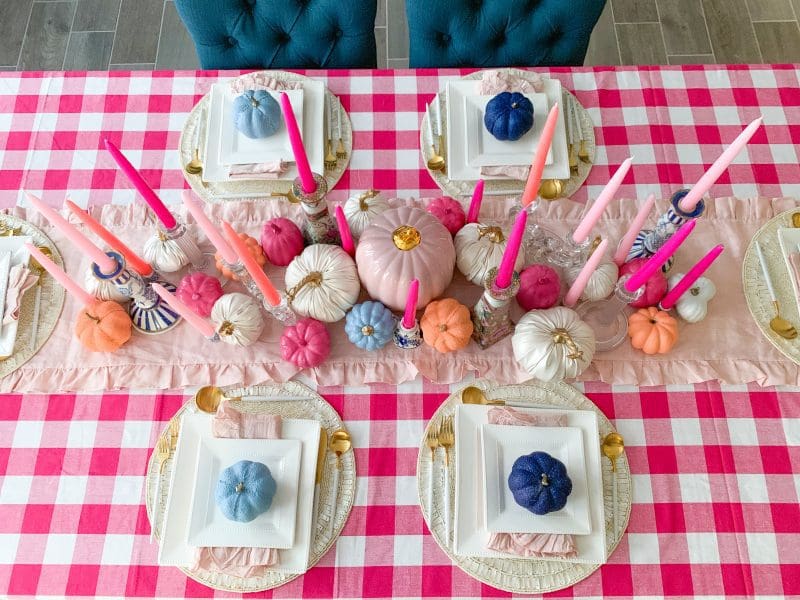
That’s okay too! Your actual table can be your base layer. I wanted a big pop of pattern and color for this tablescape so I chose a pink buffalo check tablecloth. I was planning on just using a tablecloth, but as I was placing items on the table I felt it needed one more layer. So I added my blush pink ruffle table runner on top of the tablecloth.
Layer 2: Centerpiece
The second layer is your table centerpiece. These are the items that will be placed in the center of the table, and will probably be the most in-depth part of decorating your tablescape.
You can add as many or as little items as you want – maybe you like the minimal table look and just add a few candles and greenery. Or, maybe you like to make floral arrangements and you add in some pumpkins to give it a Fall look. This is the area you can really get creative!
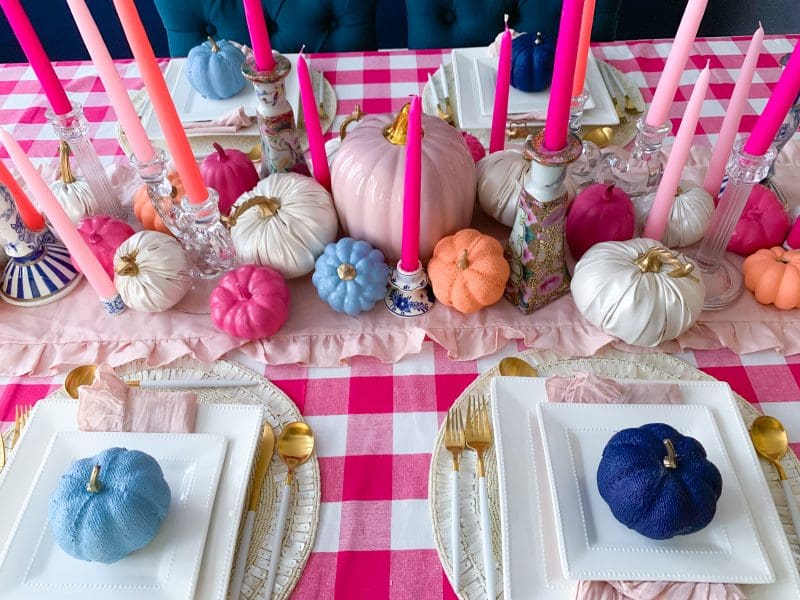
When planning my idea for my Fall tablescape, here are a few things I kept in mind: I wanted a mixture of tall layers (taper candles) low filler layers (pumpkins) and lots of variation in textures, colors and patterns. For color: I painted pumpkins in fun bright shades and also purchased various pink taper candles.
For pattern: I bought vintage chinoiserie style candle holders with unique floral designs. And for texture: I used a few leather pumpkins and glass candle holders to give it a modern feel.
Now I’m ready to decorate the centerpiece section! For this type of tablescape I like to start in the center and move outwards. Start with a focus item and place it in the center. Then start adding in items on each side. I started with one big pink glass pumpkin and my large taper candles first.
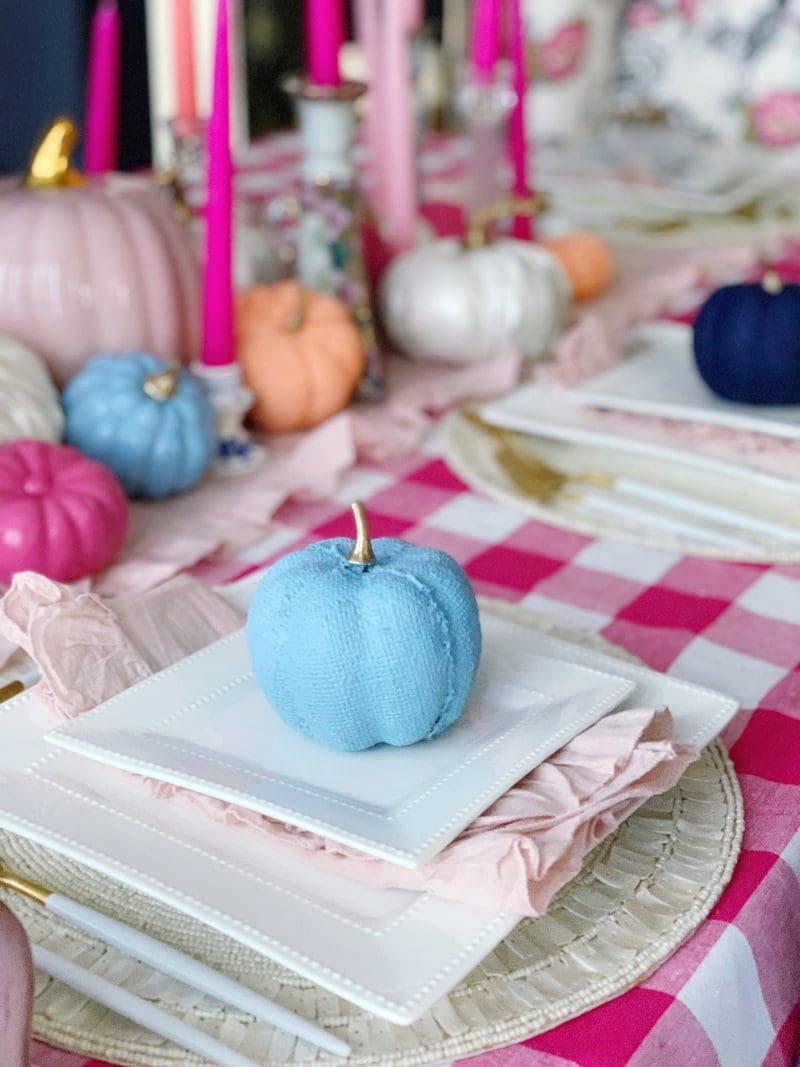
Once I had those in place I filled in with the smaller pumpkins and skinny taper candle holders. You can play around with different spots for your decor items and move it around until it feels right. You may notice in some of my pictures that I didn’t have any blue painted pumpkins. After finishing the centerpiece layer, I felt it was missing something, so I took a few white pumpkins and spray painted them to add in more color.
Layer 3: Place Settings
Your third layer is the place settings. This can be placemats, plates, napkins, drinkware, and silverware items. You can get as detailed as you want with this layer – or you can even skip place settings all together!
Maybe you want the centerpiece to be the only focus and don’t want the tablescape looking too busy. Or maybe you only have placemats and plates, but not any drinkware or silverware. It’s up to you on how many place settings items to add to your table.
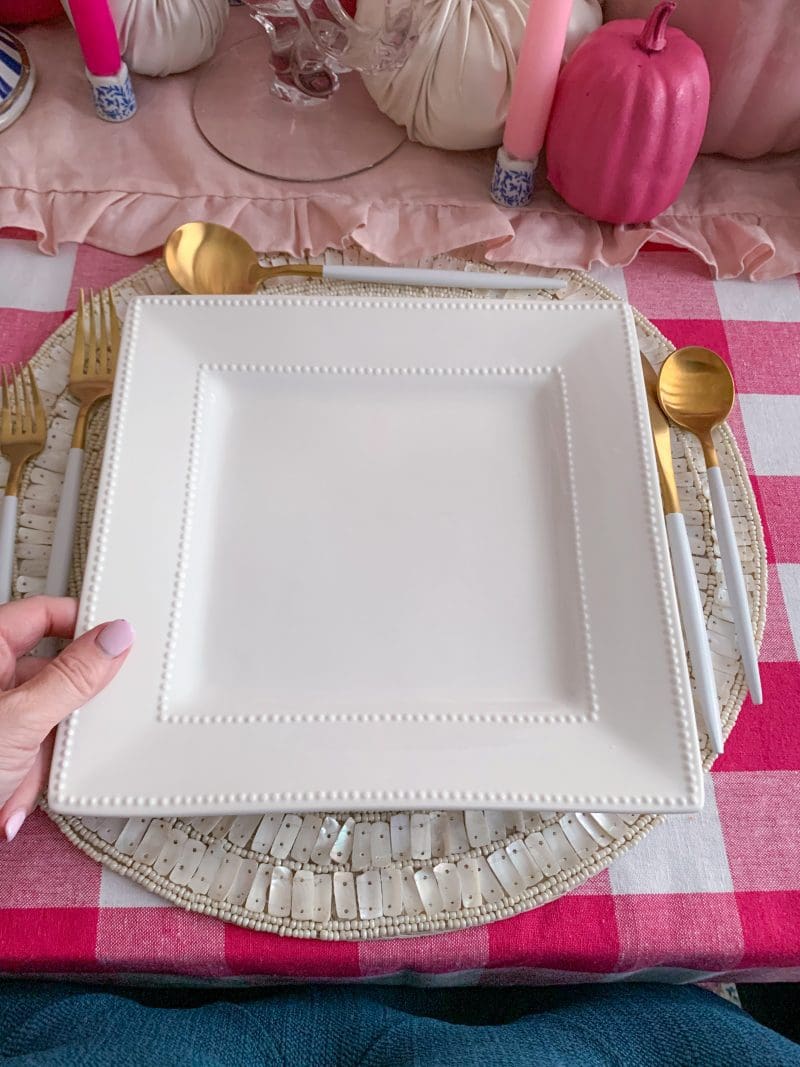
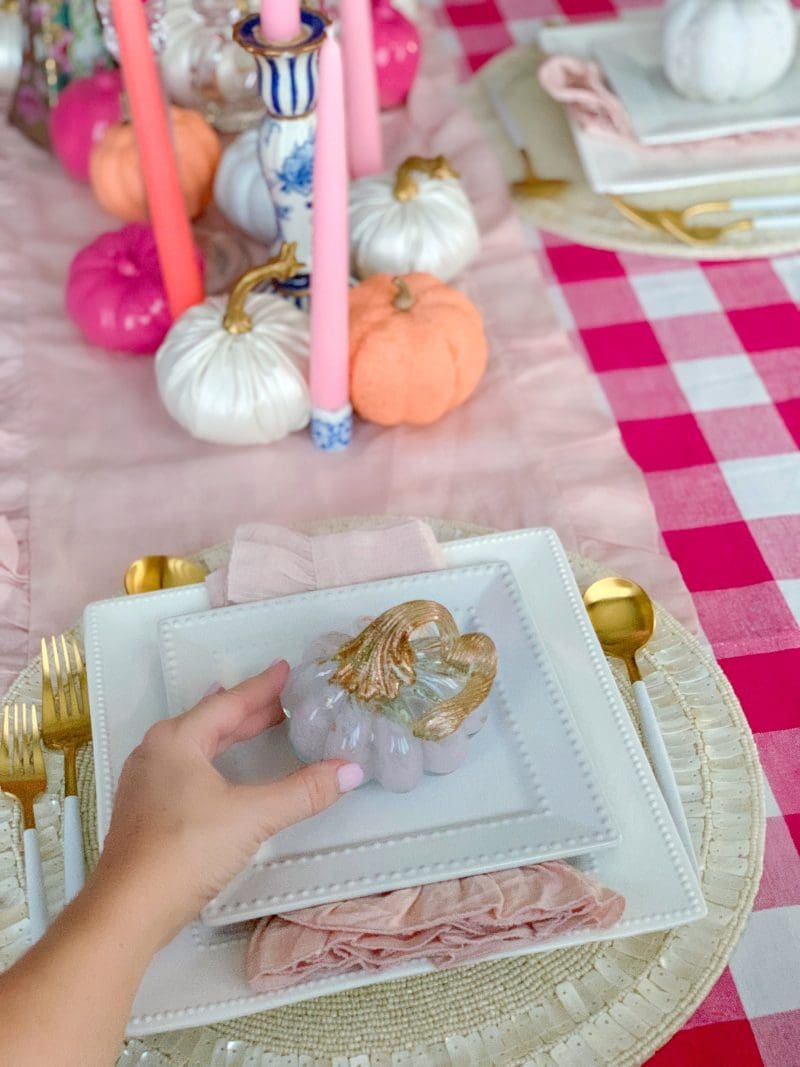
For my Fall tablescape, I used place settings items I already had on hand. I used my ivory beaded placemats, white square dinner and salad plates, blush pink ruffled napkins, and white dipped gold silverware.
I like to invest in neutral place setting pieces so they can be used year round, and then I can add in color everywhere else. Or another idea is to buy napkins in various color options to switch out each season.
3. Adding in Finishing Touches
The last step is adding in your finishing touches to the tablescape. Think of items that add a personal touch, or make the table more welcoming and inviting.
This can be achieved by adding in food and beverages using serving platters, cake stands, or decorative drink pitchers. Another way to add a personal touch is to place customized place cards or a decorative accent on each individual plate.
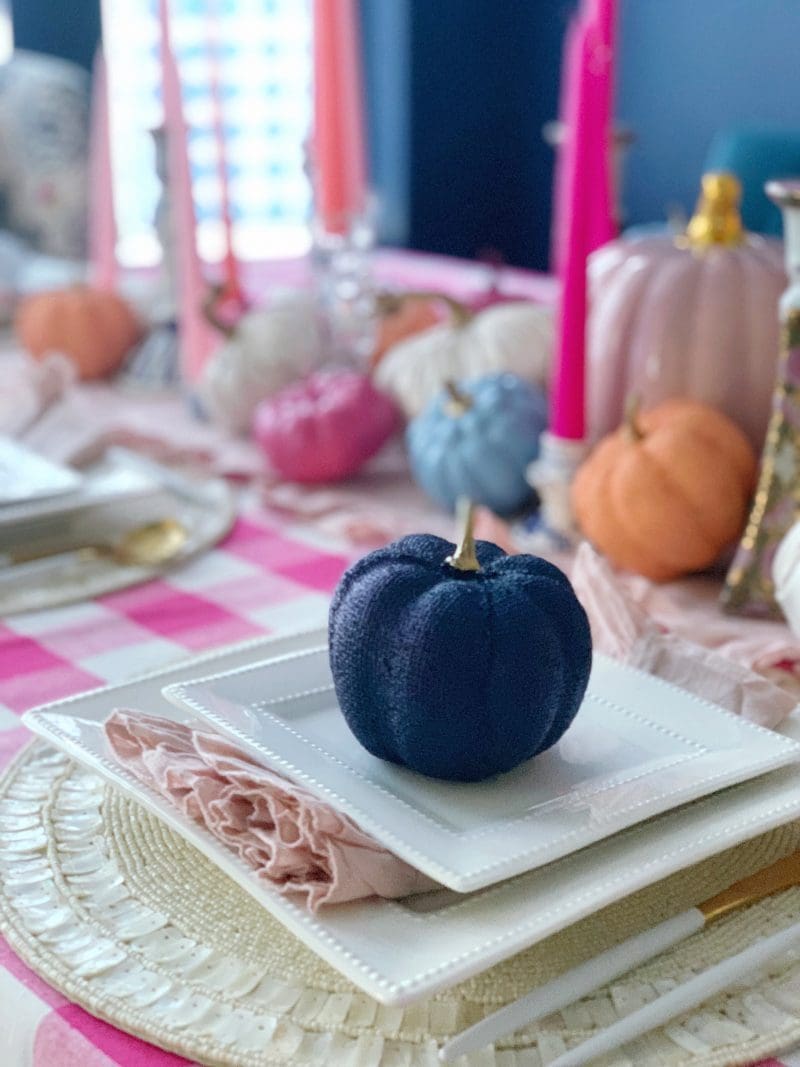
On my tablescape I added a colorful pumpkin to each place setting plates. Another idea to add a personalized touch would be to tie a ribbon on the pumpkin stem and add each person’s name.
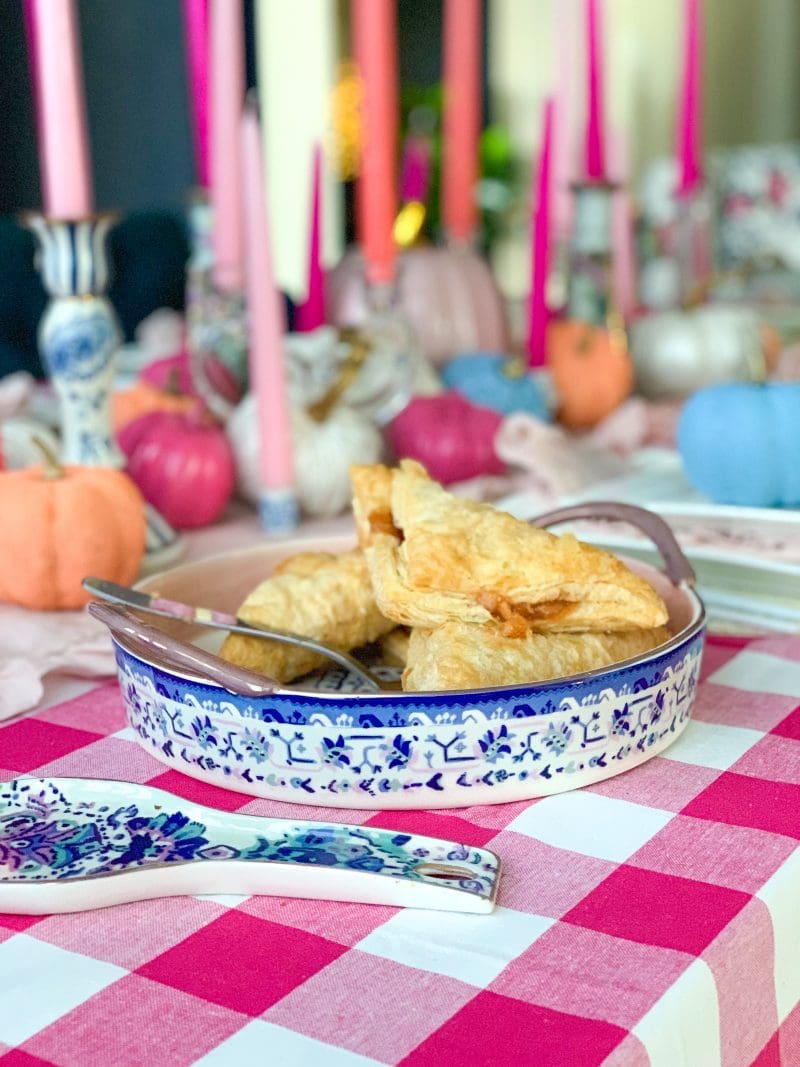
I also placed my decorative pie dish on the table and filled with delicious apple turnovers. These finishing touches add a more “lived in” and inviting feel to the tablescape.
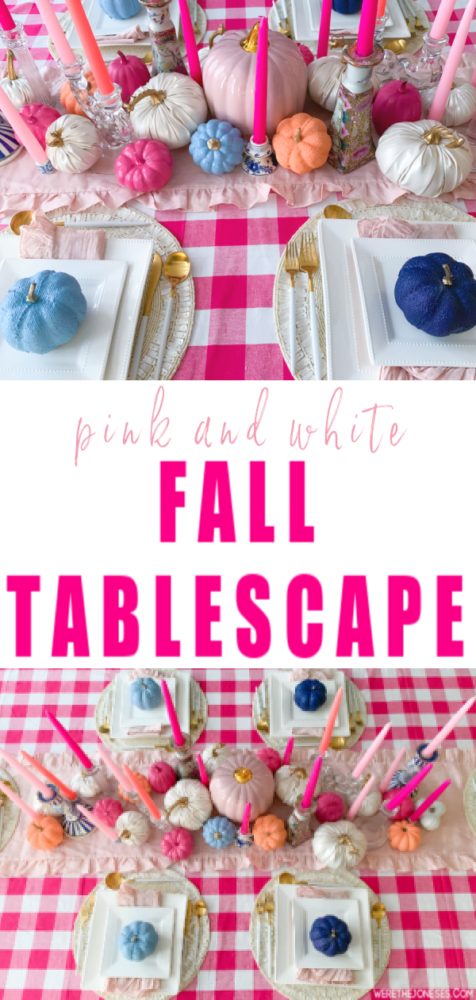
I hope this step by step tutorial helped you decorate your own Fall tablescape and makes seasonal decorating a little bit easier! I also plan to keep some of these items straight through Halloween – Thanksgiving – (maybe) Christmas – to make the decorating transition even easier!
(We will see if I stick with this, I tend to grow tired of decor easily, lol) But I’m a fan of making seasonal decorating as easy + simple as possible!
Thanks for reading and hope you enjoyed my colorful pink Fall decor ideas! I love hearing from you – let me know if you have any questions or feedback in the comments!
Happy Fall tablescape decorating!
Want more Fall decor inspiration? Check out these Fall decorating posts!:
How To Decorate For Fall With Non-Traditional Color Palettes



5 thoughts on “How to Create a Beautiful Fall Tablescape in 3 Simple Steps!”