It’s week four of the One Room Challenge! I had a much more productive week than week three – yay! Some of the big projects this week were adding a skim coat on the textured wall, hanging traditional wallpaper, and prepping the floors for our new vinyl peel n stick tile flooring. Can’t wait to share with you the progress from these projects!


Visit all the The One Room Challenge™ posts from week four HERE!
*This post contains some affiliate links for your convenience. Click here to read my full disclosure policy.
Talk about opposites – that’s what week four of the One Room Challenge was compared to week three! I’m so happy that we were able to get a lot of projects started and completed this week.
We’re getting so close to the end! Next week will be just as busy (or maybe more) with hopefully getting our built in cabinets installed, finishing our floors, new window shades installed, and a new light fixture installed.
But back to our week four project progress! Read below to see what we’ve been up to this week!
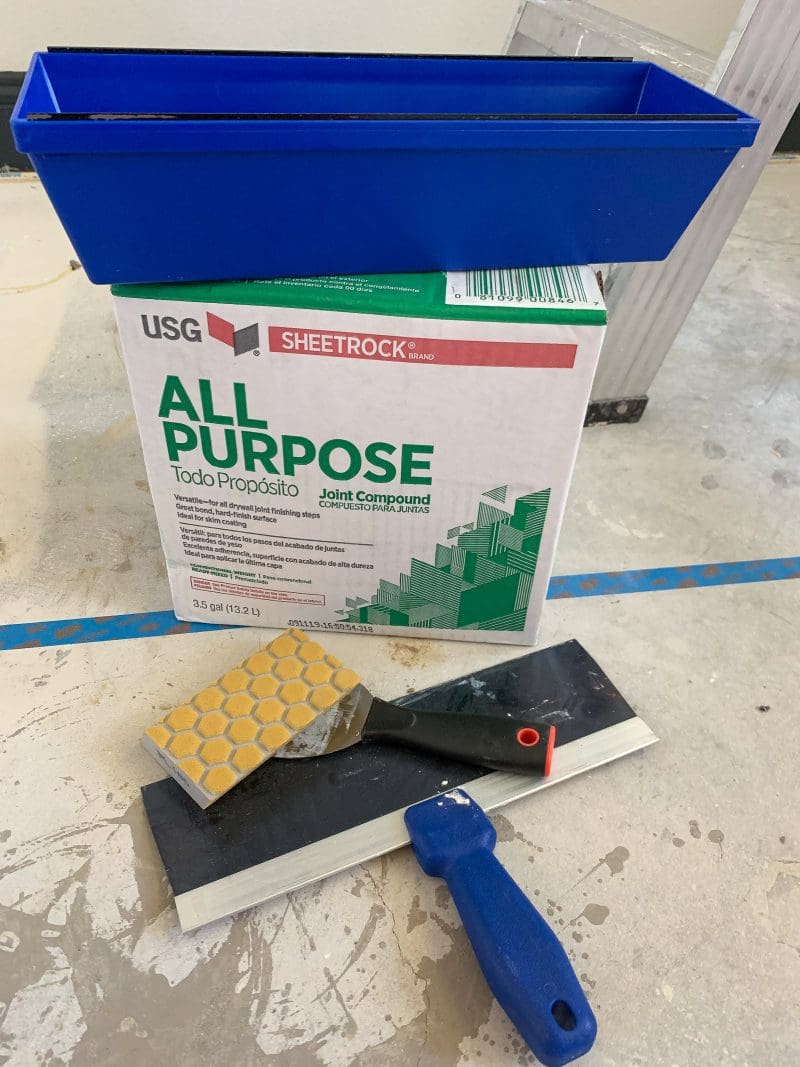
Skim Coat on Textured Walls
I’ll admit – painting and wallpapering walls are not my strong suit.
I’ll paint furniture all day – but something about working with walls has always been difficult for me. And since my wallpaper love developed a couple years ago, I’ve always paid a professional to hang wallpaper in our home.
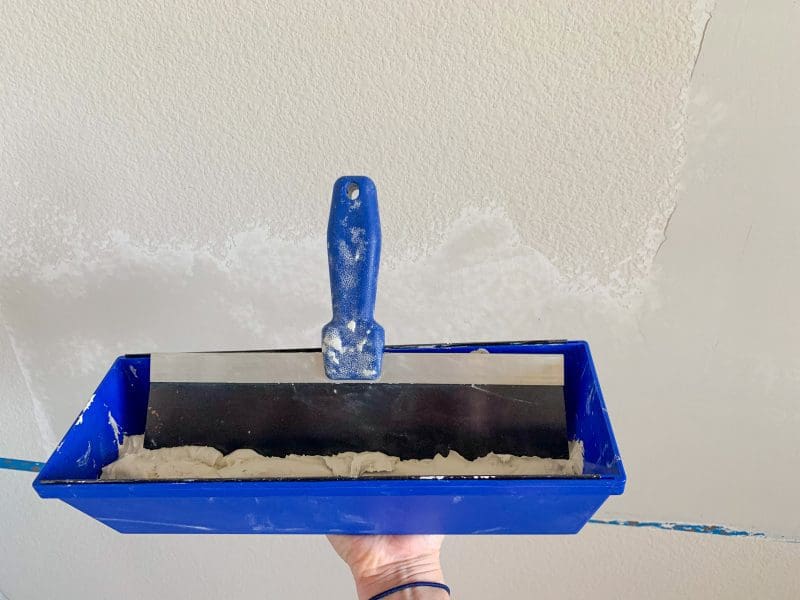
I’ve wanted to learn how to hang wallpaper, I’ve just heard such horror stories about doing it on your own. Especially because our textured walls we have in Texas, there’s the added step of smoothing out the wall, or what’s called “skim coat” or “floating the wall”. Basically spreading a thin layer of joint compound on the textured wall so the wallpaper can go on smooth.
I asked a painter what he would charge if he did the skim coat, and I hung the wallpaper. His quote was $300! And that’s doesn’t include hanging the wallpaper, just making the wall smooth.
I started thinking, how difficult can this skim coat be? I’ve watched the pros do it with my other wallpaper projects. It’s definitely a detailed job, but I thought it was something I could try myself.
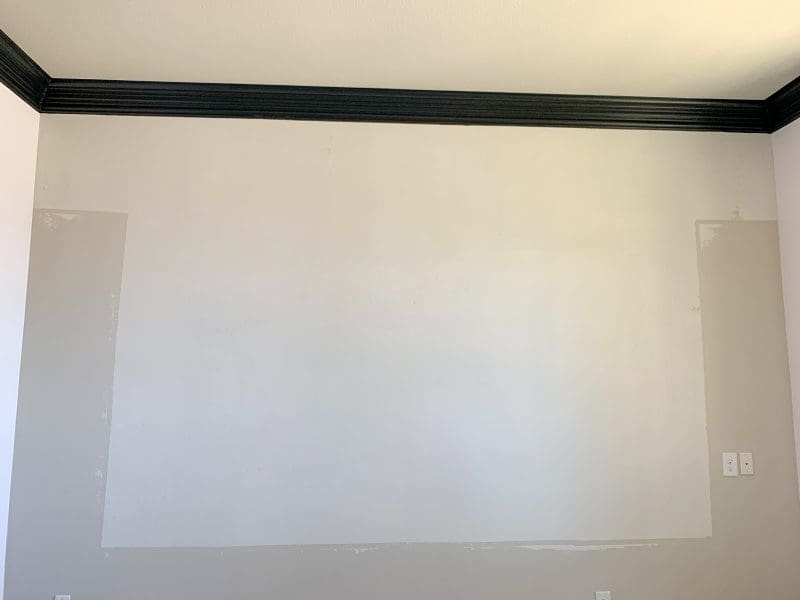
So I did! And it honestly was WAY easier than I was expecting. I watched several You Tube videos, and Bryan gave me a crash course before I started. It wasn’t perfect and I made some mistakes, but I’m so proud of how it turned out for my first time!
I am working behind the scenes on a How-To Skim Coat For Beginners blog post – where I will give my exact step by step instructions on the project. Stay tuned!
Hanging Traditional Non Woven Wallpaper
After doing the skim coat, the wall was ready for wallpaper! This is my first time hanging wallpaper so I was a little nervous. I have played around with peel n stick removal wallpaper on smaller projects, but this is serious traditional wallpaper!
After watching a few more You Tube videos (you can learn anything from a good DIY video!) and also recruiting my friend Cristina who just hung wallpaper in her house by herself, I knew I was ready to conquer my first wallpaper hanging project.
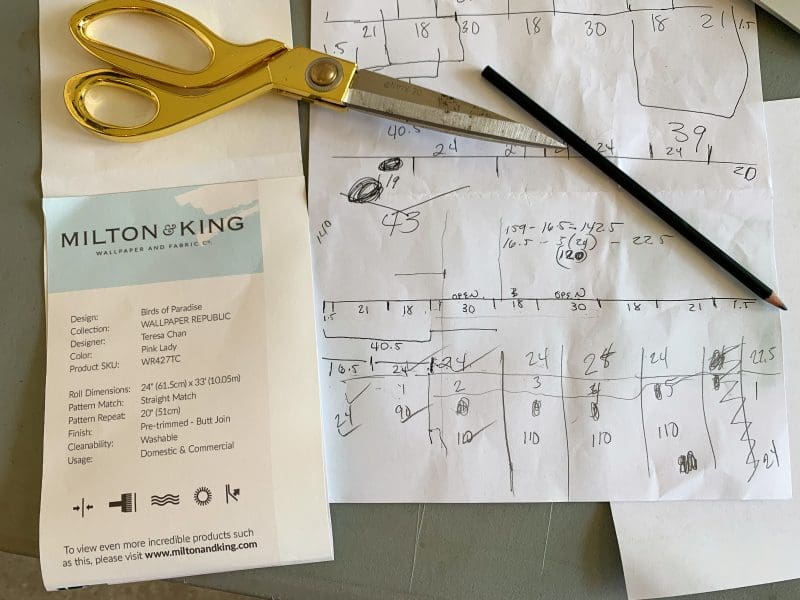
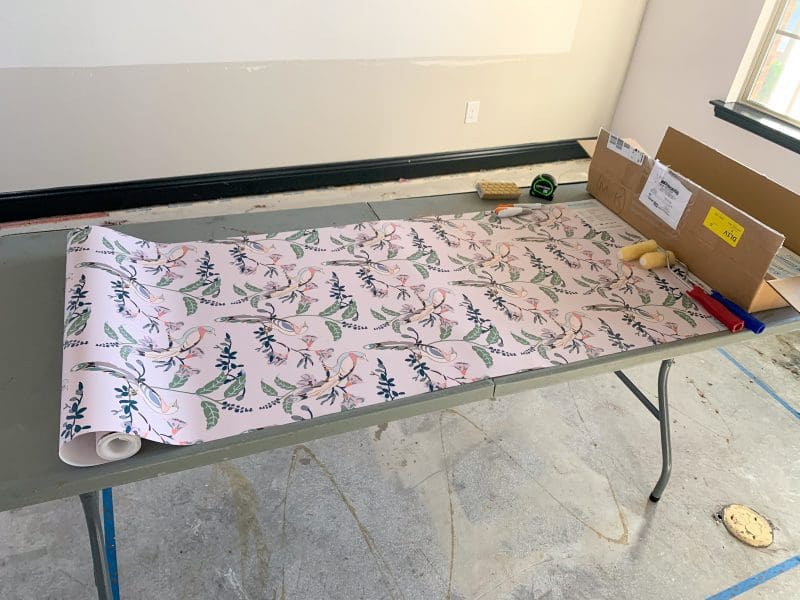
The pink wallpaper I picked is this gorgeous whimsical pattern by Milton & King called Birds of Paradise – Pink Lady. I ordered a sample a few weeks ago and fell in love! It has a feminine chinoiserie chic design with my favorite hues of blush pink and navy. I was so excited to get it hung!
The hardest step in hanging wallpaper is the first strip. The first piece on the wall has to be perfect, as every strip after it lines up based on how that first strip was hung. We had a few trial runs to get that first wallpaper strip up, (actually it was the first two strips – since the first one was a short piece) but after those we got the hang of it!
I was a little intimidated using non-woven wallpaper, but it was a LOT easier than I had imagined. Because it’s not pre-pasted, you roll on the adhesive directly to the wall, and then lay the wallpaper directly on the wall. No messing with wet sticky wallpaper! It also was easy to remove or alter a strip even after it was on the wall if we needed to reposition it or line it up better.
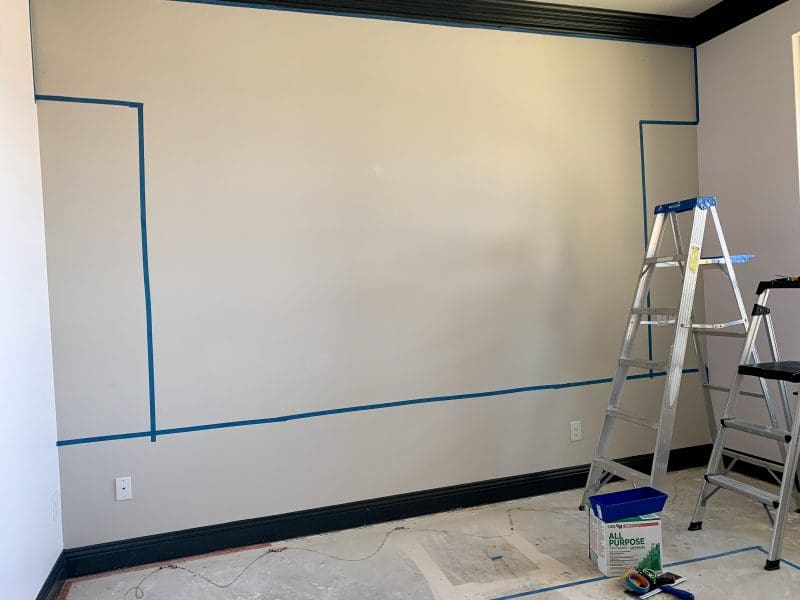
I had one major mess-up with prepping the walls for wallpaper. The wall that we are hanging wallpaper on is the wall that will also have the built in cabinets. For efficiency purposes, I planned on only wallpapering the areas on the wall that would not be covered by cabinets. So I didn’t do a skim coat on the two ends of the wall or the bottom of the wall, as these areas will be covered up (or so I thought in my head).
What I forgot to think about, was that we changed the builtins to have two desk openings along the wall of cabinets, and these open areas you will see the wall behind the desk. Unfortunately, I didn’t have a layer of skim coat on this small area, but we were able to still hang the wallpaper in these spots. Luckily Cristina pointed it out before we got started so we could fix it! Otherwise, we would’ve stopped the wallpaper short and the two desk openings wouldn’t of had any wallpaper.
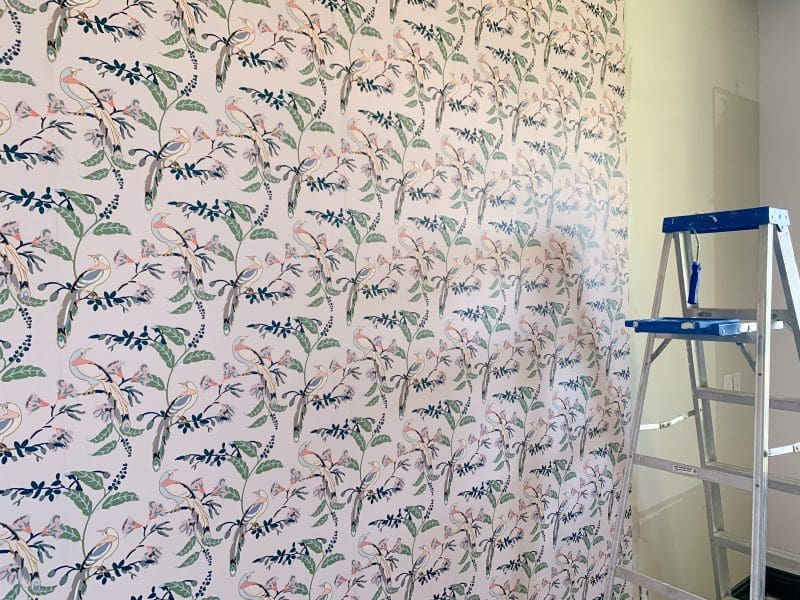
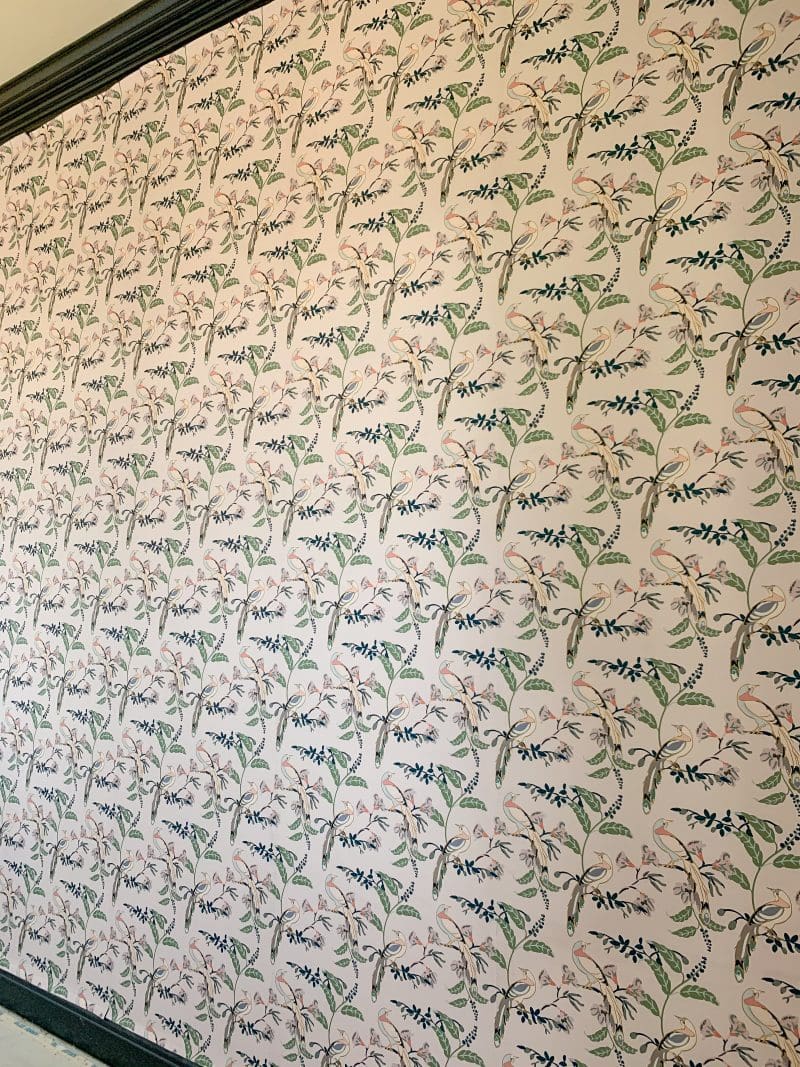
The wallpaper still looks a little unfinished at the moment, as I haven’t cut the top and bottom overlap yet. Also, once the built in cabinets are installed it will give it a more of a finished look!
I am also working behind the scenes on a How-To Hang Non Woven Wallpaper For Beginners blog post – where I will give my exact step by step instructions on this wallpaper DIY too! Stay tuned for my how-to blog post! I recorded a fun video of us hanging the wallpaper, here is a sneak peek:
Prepping Floors for Vinyl Peel n Stick Tile
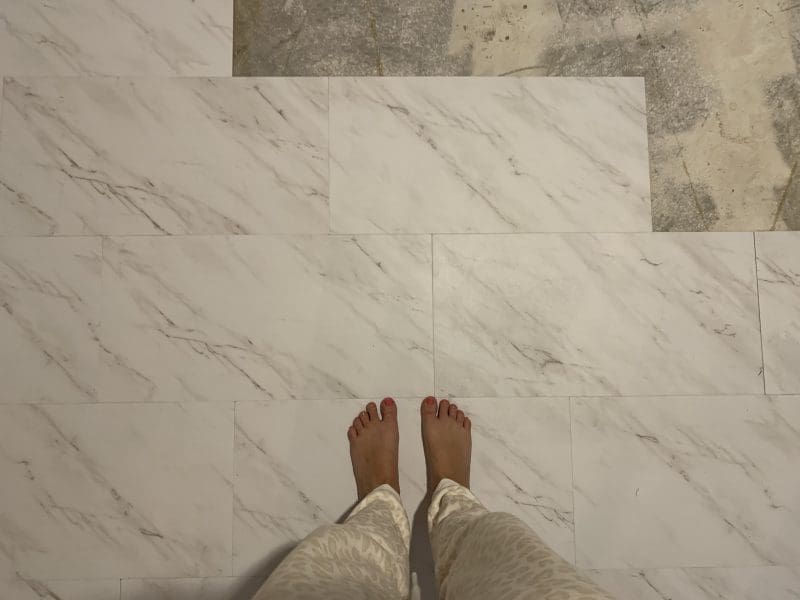
Bryan and I went back and forth on what flooring to do in the office. I knew I wanted to rip up the carpet, but we wanted an affordable flooring replacement that had a high-end look. What everyone dreams of for home projects, right??
We were browsing the aisles of the hardware store last Friday night, and came across this vinyl peel n stick tile flooring. It looked so easy! But when something seems too good to be true, it usually is right? We were unsure if this flooring option would work or look too cheap BUT we decided to take a chance!
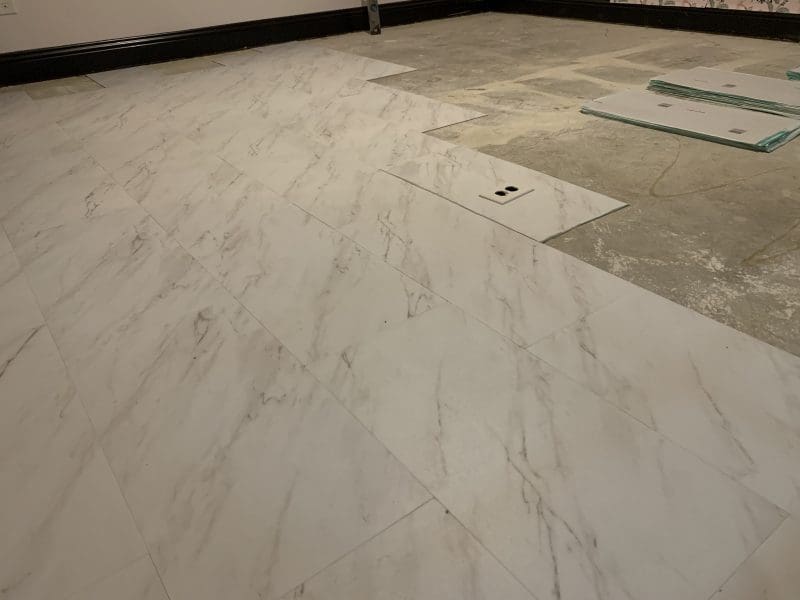
We’ve been prepping the floors all week, scraping the excess glue and carpet pieces, vacuuming and sweeping dust and dirt from the concrete. We started laying the vinyl tile last night and it was SO easy! Here’s a sneak peek of what it looks like – and I will update you more about the flooring next week!
Did you catch my Week One, Week Two and Week Three updates?
We made some serious progress in the office makeover this week and I’m so happy with how the room is looking! Next week is going to be a BIG one with all the furniture installs – I can’t wait!!
I’m excited to see everyone’s updates this week – make sure you check out all the featured designers and guest participants. There’s so many creative room makeovers happening!
Thanks for stopping by!

![]()